In this article We are going to cover How to Increase EBS Volume size in AWS.
How to Increase EBS Volume size in AWS
Below are steps to increase EBS volume size in AWS.
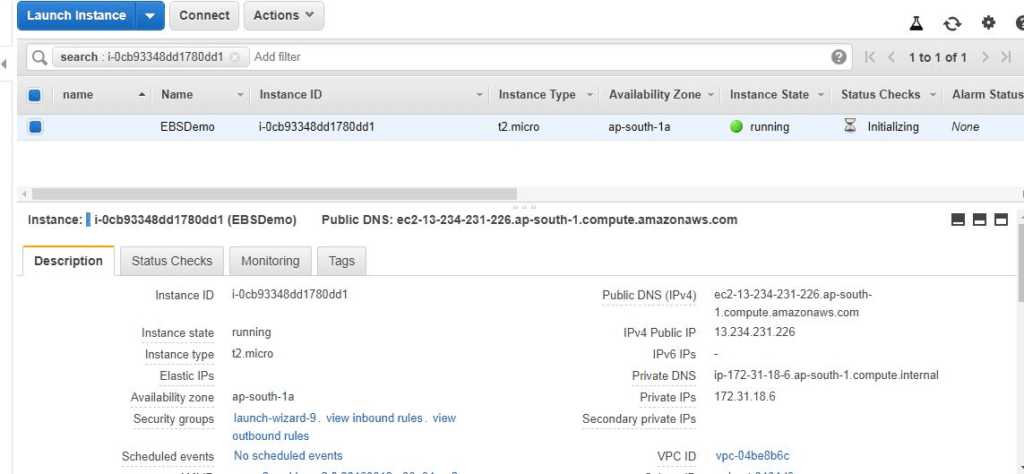
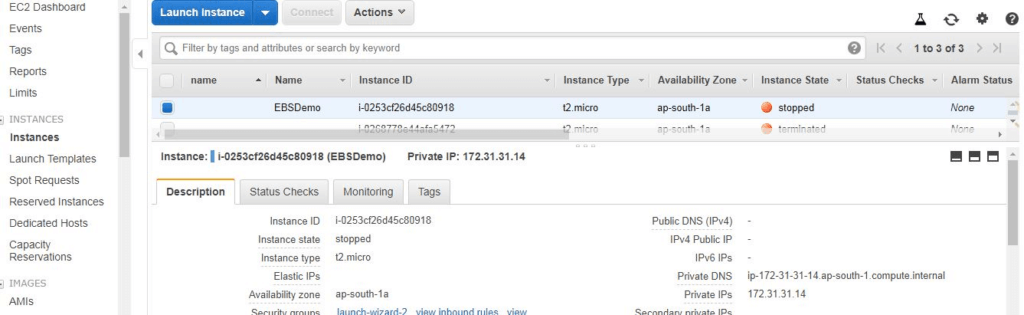
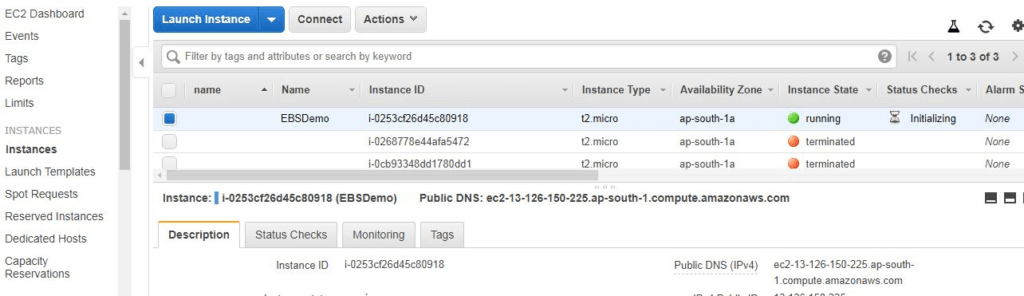
Step #1: Create EC2 instance, give name like EBSDemo
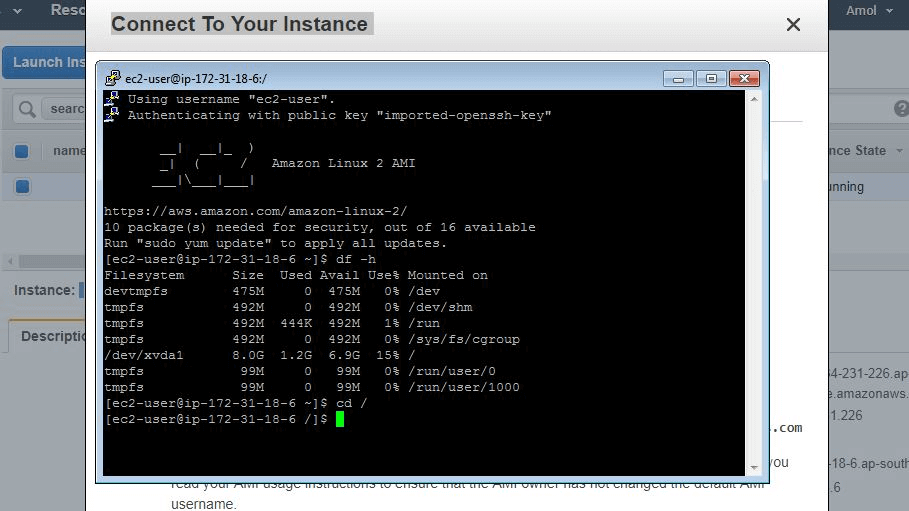
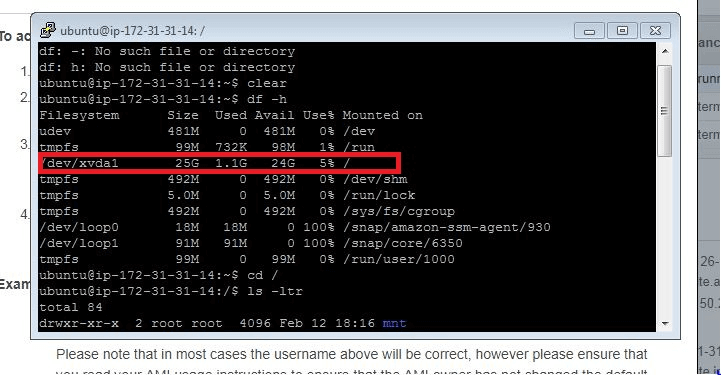
Step #2: Login to ec2 instance and run below commands
df –h
cd /
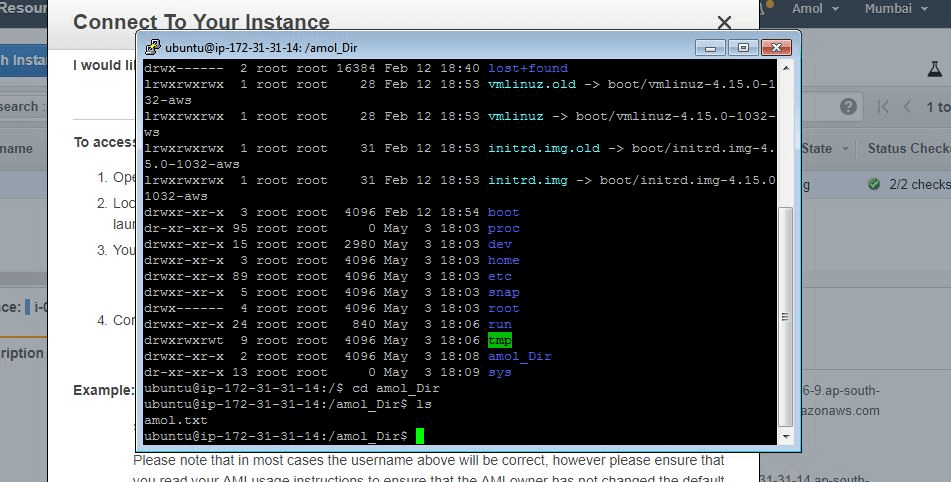
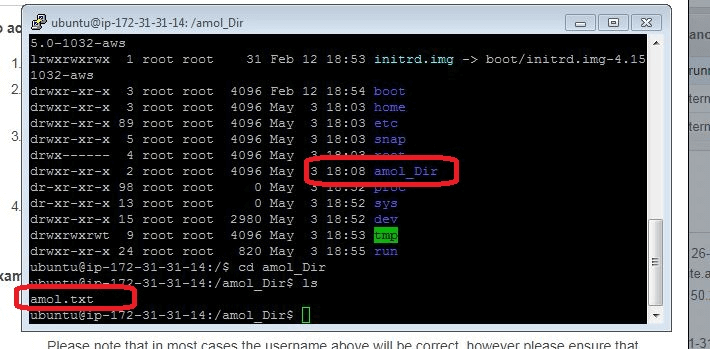
Step #3: Create a file named like yourname.txt and directory named like yourname_Dir
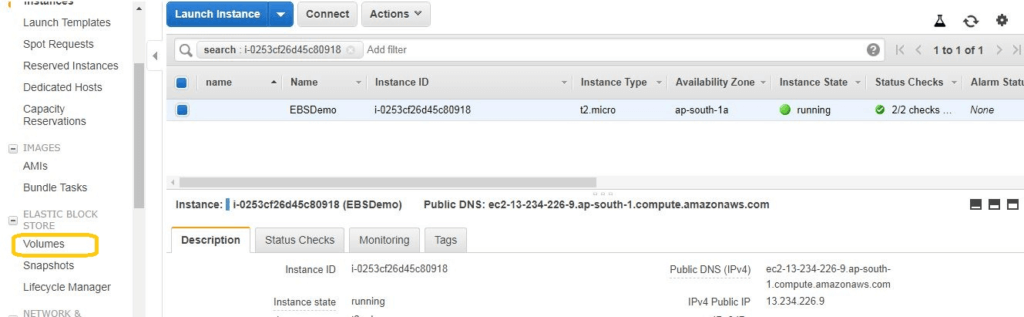
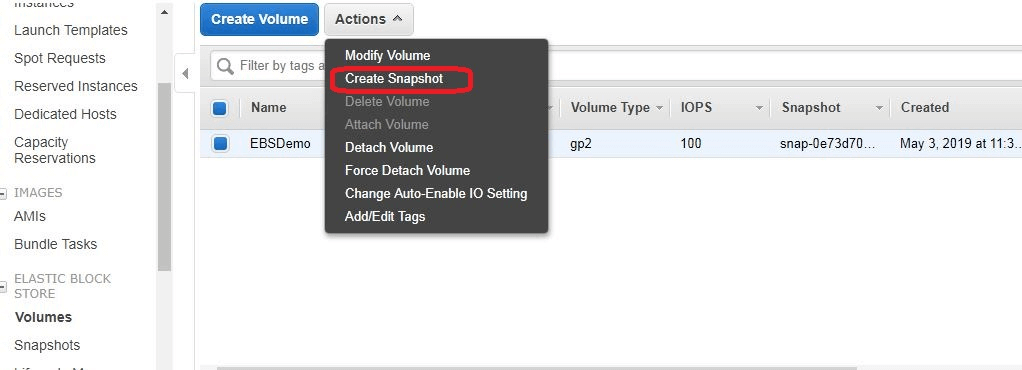
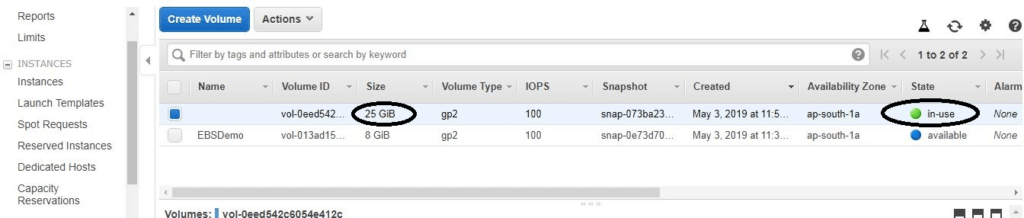
Step #4: Go EC2 landing page select volume tab from left hand side
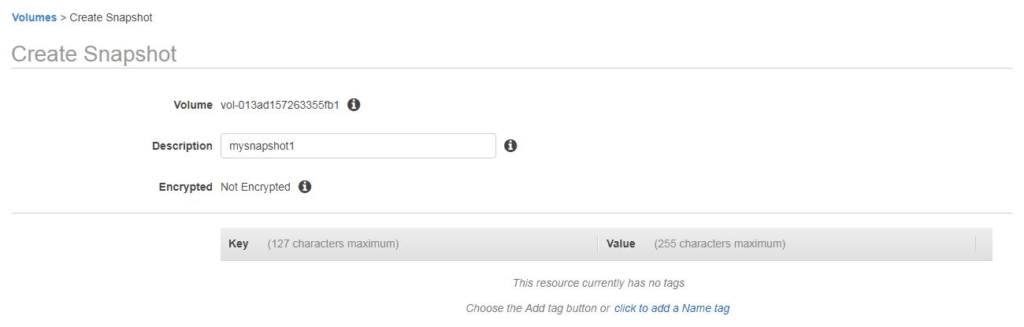
Step #5: Create a Snapshot of the 8GB Volume which is attached from ec2 instance
Give name of snapshot “mysnapshot1”
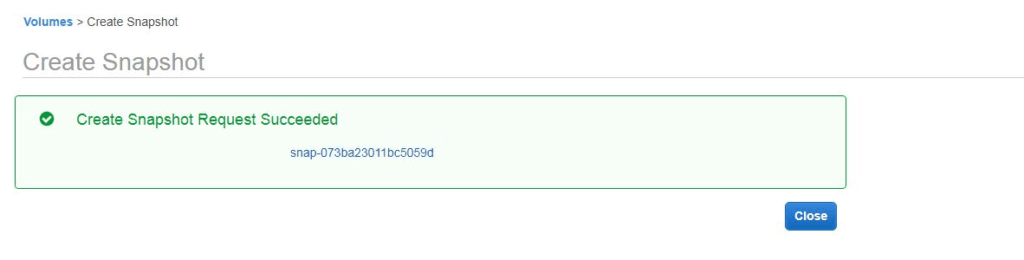
Snapshot Created successfully
Step #6: Go to snapshot option
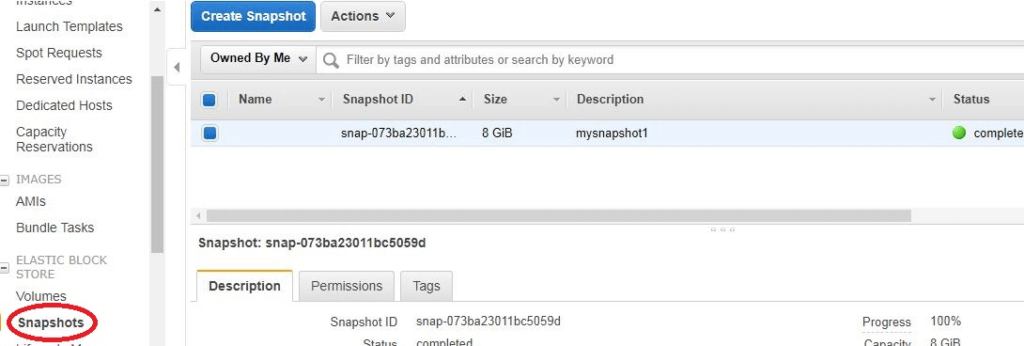
Step #7: Select the Snapshot which has been created create a Volume from the snapshot
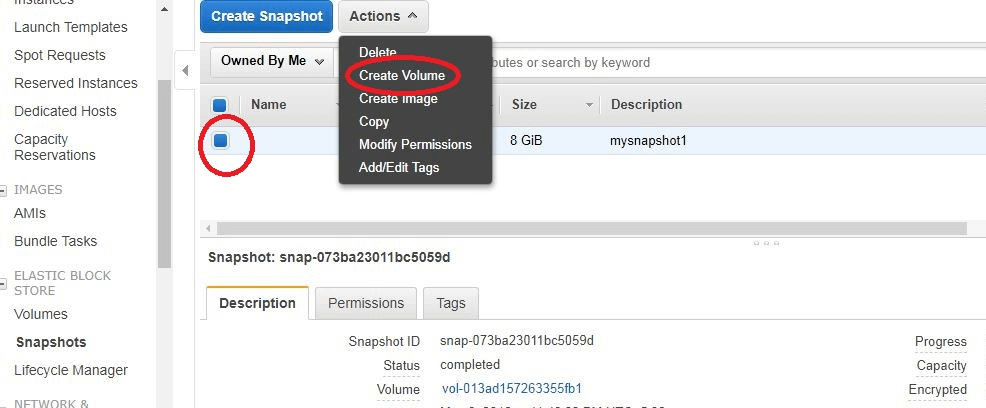
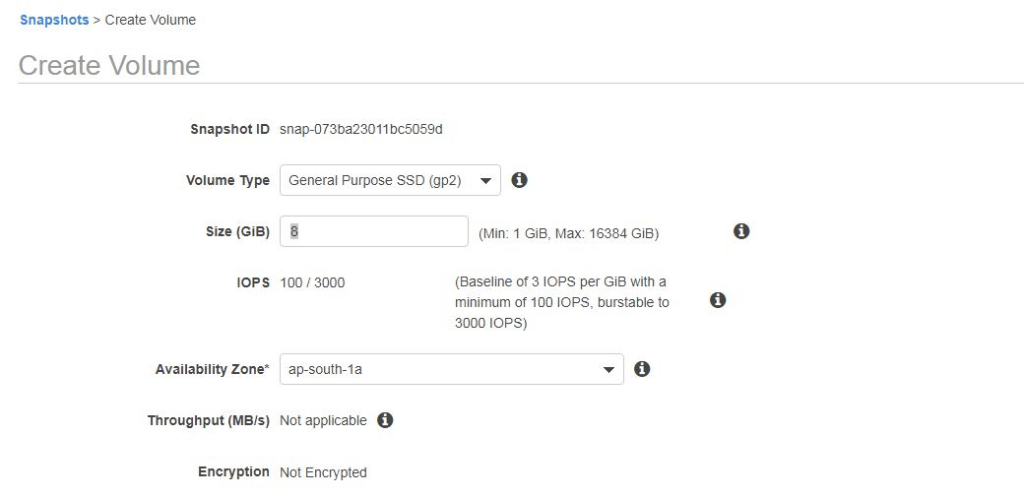
Step #8: Create a Volume from the snapshot
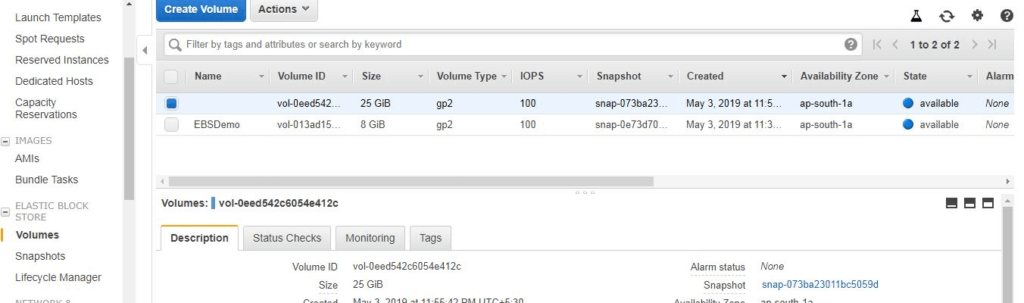
Step #9: Increase the of Volume to 25 GB
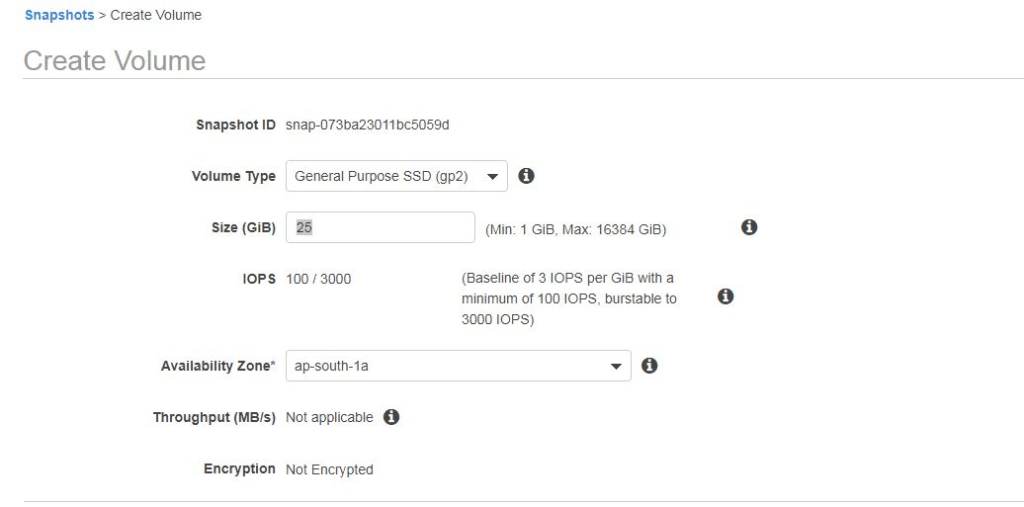
Volume Request Succeeded

Step #10: Stop the ec2 instance
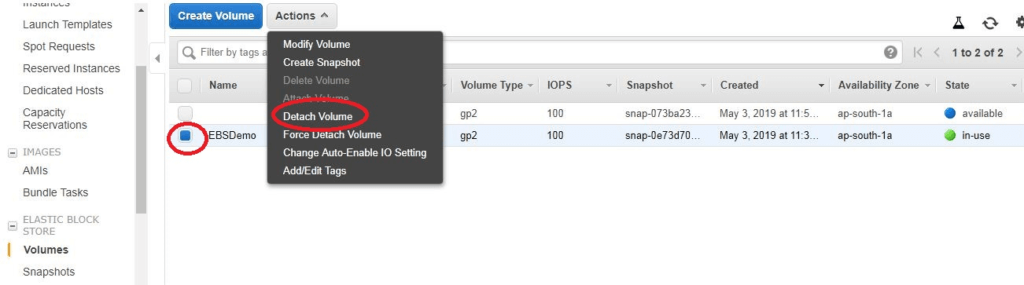
Step #11: Deatch 8 GB volume

Go to Volumes -> Actions -> Detach Volume
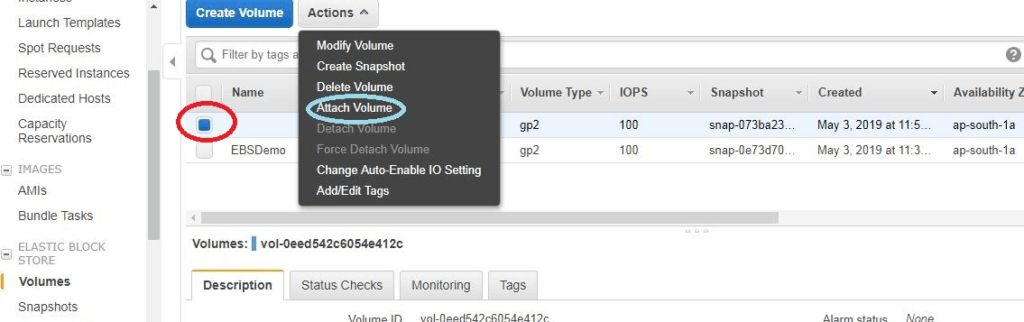
Step #12: Attach the new 25GB volume
Go to Volumes -> Actions -> Attach Volume
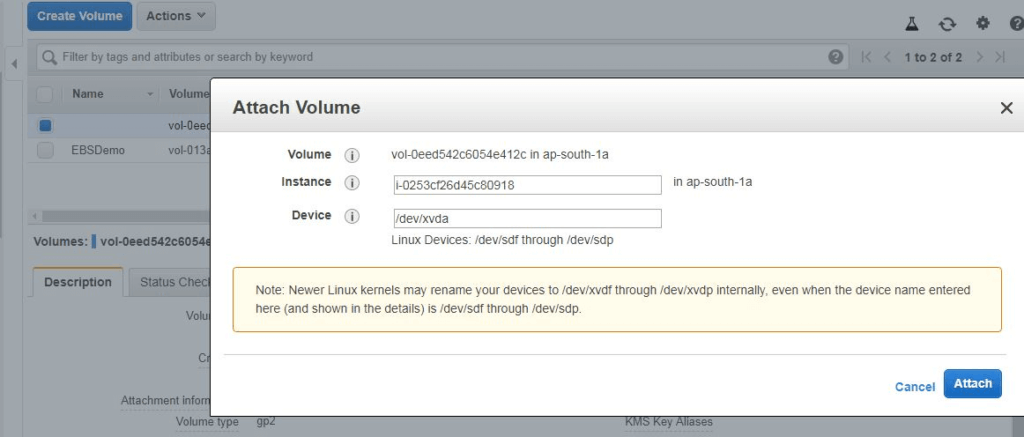
Attach volume
you will see increased Volume Size
Step #13: Power on the ec2
Step #14: Login again and verify the file system details with #df –h command.
df –h
Step #15: Verify your files and directory within root file system
cd
ls –ltr
Conclusion:
We have covered How to Increase EBS Volume size in AWS.
Related Articles:
How to Create IAM User in AWS Step by Step
How to Attach IAM Role to EC2 Instance using CLI
How to Create Ubuntu Instance in AWS [7 Steps]
How to Create Linux EC2 Instance in AWS
AWS Create EC2 Instance from Snapshot
How to connect to AWS EC2 Instance using MobaXTerm
How to Enable Password Authentication for AWS EC2
How to Connect EC2 Instance using Putty
How to Transfer files to AWS Instance using WinSCP [2 Steps]
How to Install AWS CLI on Amazon Linux
Lambda Function to Start and Stop RDS Instance
Start and Stop EC2 Instance using Python Boto 3
How to Create AWS DocumentDB and Connect [3 steps]
How to Install MySQL 5.7 on Amazon Linux 2
How to Create Postgres Database in AWS and connect
Monitoring EC2 Instances using CloudWatch
How to Create CloudFront Distribution in AWS
How to Migrate EC2 Instance to another Region
Reference: