Here’s a step-by-step guide on How to Create an EC2 instance in AWS and How To SSH into EC2 Instance Using MobaXterm | Create EC2 Instance in AWS and SSH Using MobaXterm.
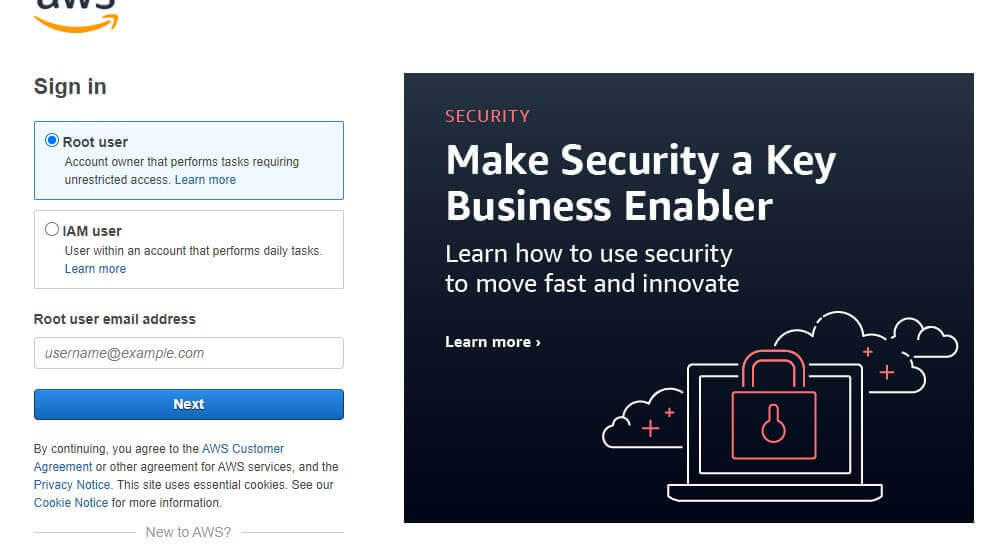
Log in to AWS Console: Log in to your AWS Management Console using your AWS account credentials.
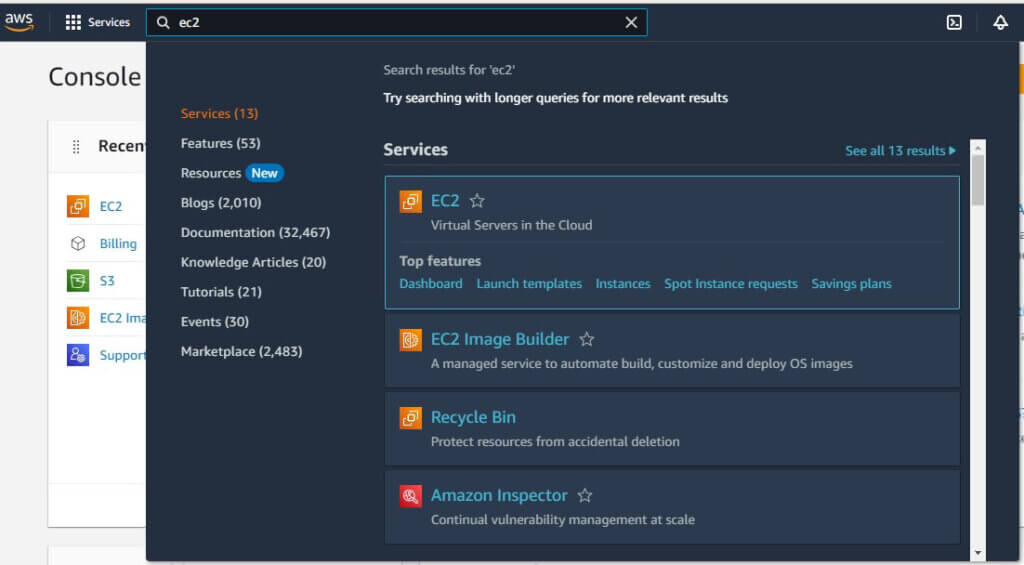
Navigate to EC2 Dashboard: From the AWS Management Console, go to the “Services” menu and select “EC2” under the “Compute” section.
Create EC2 Instance in AWS and SSH Using MobaXterm
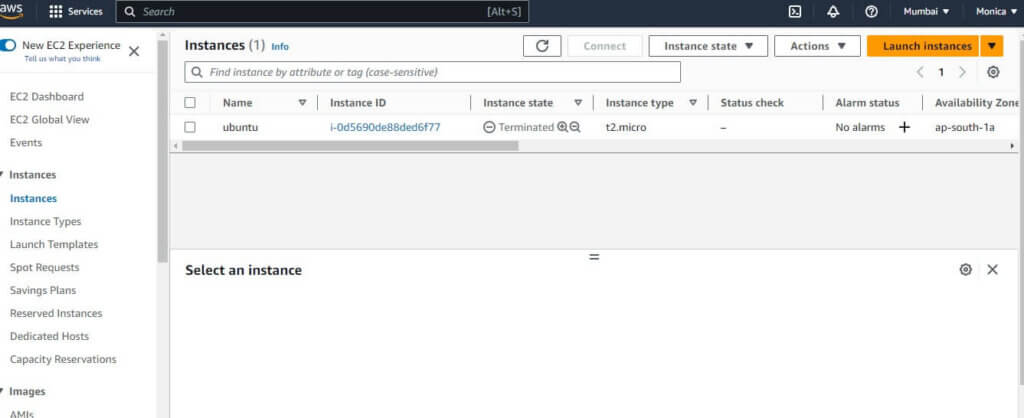
Launch Instance: Click on the “Instances” link in the left sidebar and then click the “Launch Instance” button.
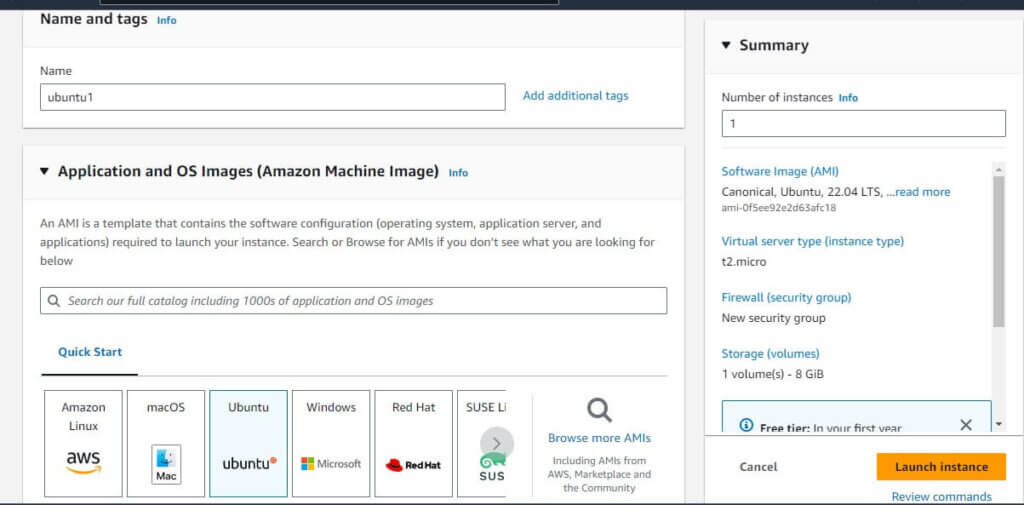
Choose an Amazon Machine Image (AMI): Provide name and select an AMI of your choice. You might want to choose an Amazon Linux, Ubuntu, or any other suitable image.
Choose an Instance Type: Choose the instance type based on your requirements. The instance type defines the hardware capabilities of your EC2 instance.

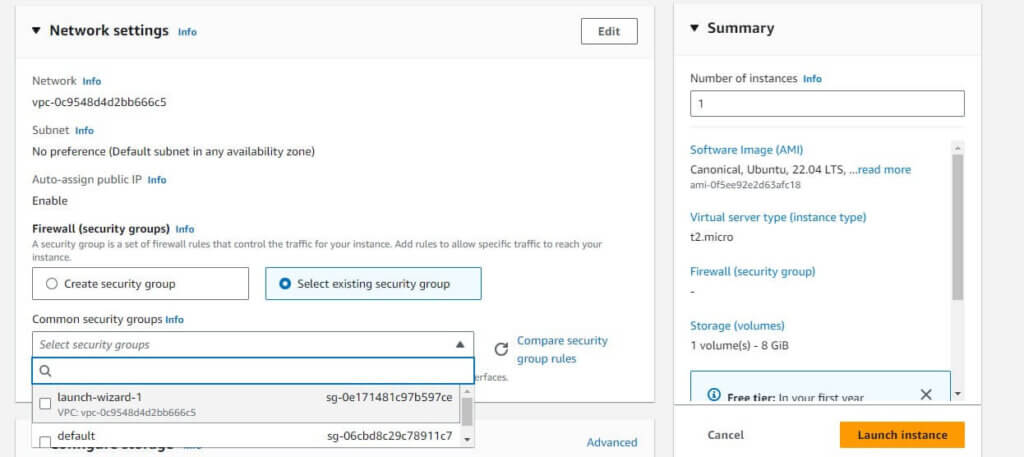
Configure Instance: Configure instance details such as the number of instances, network settings, etc.
Add Storage: Specify the amount of storage you need for your instance.
Add Tags: Optionally, you can add tags to your instance for better organization.
Configure Security Group: Configure security group settings to allow SSH access. Make sure to open port 22 for SSH.
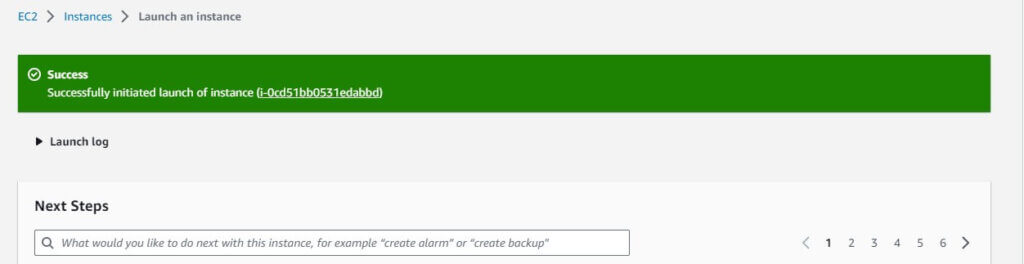
Review and Launch: Review your instance configuration and click the “Launch” button.

Create Key Pair: If you don’t have a key pair, you’ll need to create one. This key pair will be used to authenticate when connecting to the instance over SSH. Download the private key file (.pem) to your computer.

Launch Instances: After creating or selecting a key pair, click the “Launch Instances” button.
2. Connect to EC2 Instance using MobaXterm:
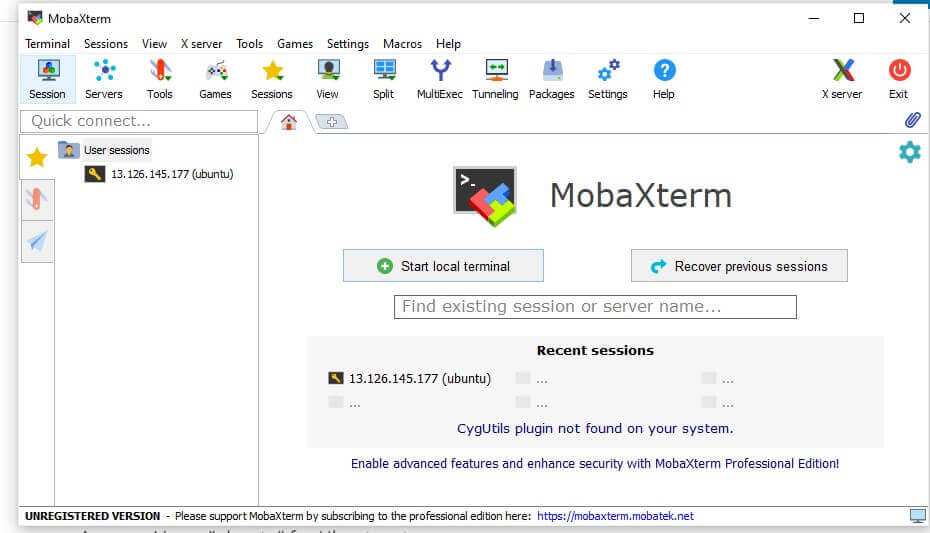
Install MobaXterm: If you haven’t already, download and install MobaXterm from the official website.
Open MobaXterm: Launch MobaXterm after installation.
Create a New Session: Click on the “Session” button in the upper-left corner of the MobaXterm interface.
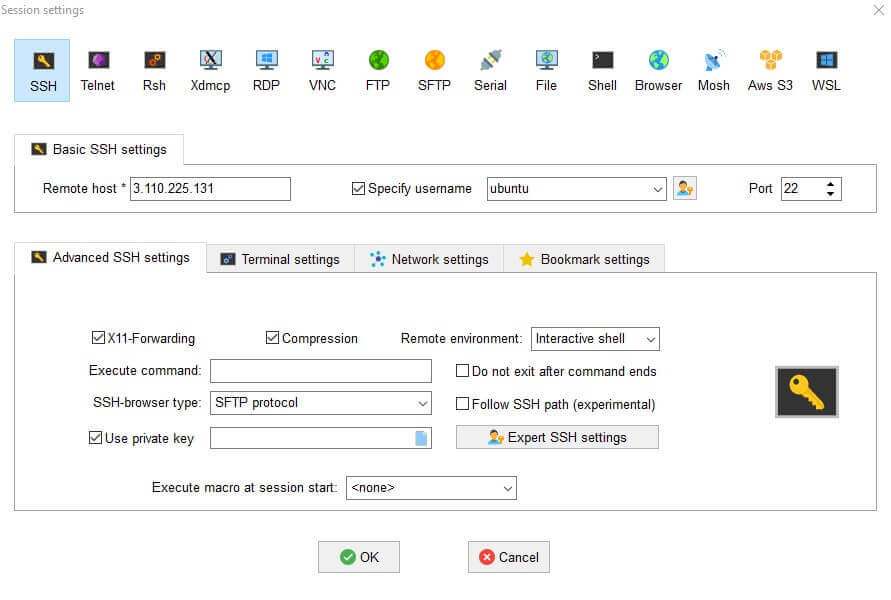
Choose the SSH protocol.
Configure SSH Session: In the “Session settings” window:
Enter the public IP address or DNS name of your EC2 instance in the “Remote host” field.
Specify the username. For most Linux instances, the default username is “ec2-user” for Amazon Linux, “Ubuntu” for Ubuntu, etc.

In the “Advanced SSH settings” section, under the “Advanced SSH settings” tab, browse and select the private key (.pem) file you downloaded earlier.
Save and Connect: After configuring the session settings, click the “OK” button. Then, click the “Connect” button to initiate the SSH connection.
Authenticate with Private Key: MobaXterm will prompt you to authenticate using the private key. Choose the private key file you used for the session and click “OK.”
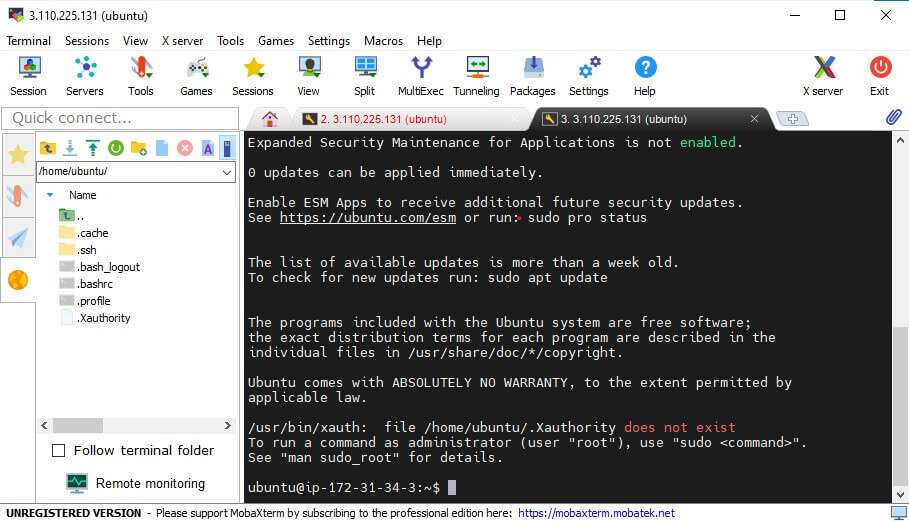
SSH Connected: If the credentials are correct, you should now be connected to your EC2 instance via SSH using MobaXterm.
Following command is used to check operating system configuration in Ubuntu EC2 Instance.
cat /etc/os-release
Remember to keep your private key file secure, as it provides access to your EC2 instance. Additionally, make sure your security group settings allow incoming SSH traffic (port 22) from your IP address for improved security.
Conclusion:
In this article we have covered How to Create an EC2 instance in AWS and How To SSH into EC2 Instance Using MobaXterm | Create EC2 Instance in AWS and SSH Using MobaXterm.
Related Articles: