I’d be happy to provide you with a step-by-step guide on how to install the AWS Command Line Interface (CLI) on Windows | How to Install and Configure AWS CLI on Windows. The AWS CLI allows you to interact with various AWS services through the command line. Here’s how you can do it:
Table of Contents
Prerequisites:
- AWS Account
- You need to have Windows PowerShell or Command Prompt installed on your Windows machine.
- Make sure you have an active internet connection.
Step #1:Open a Web Browser
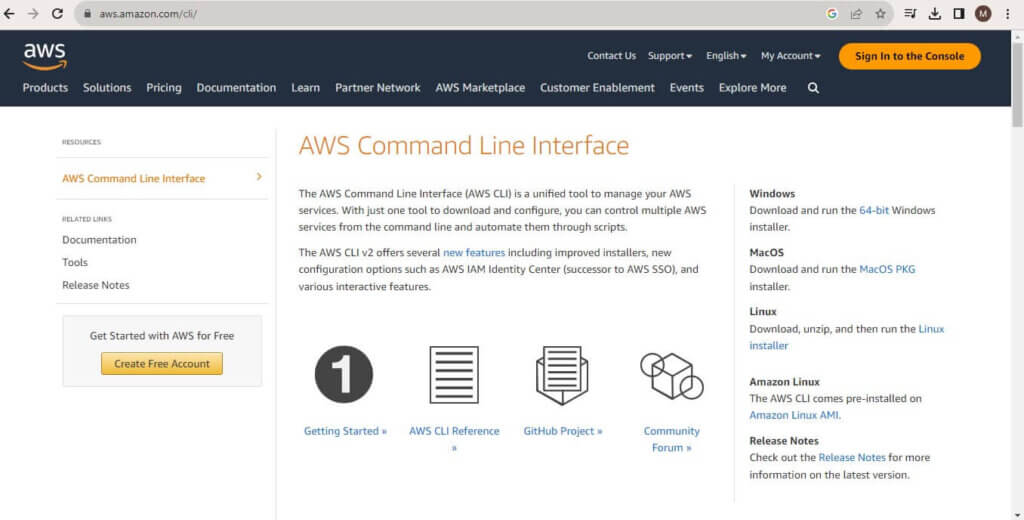
Open your preferred web browser (e.g., Chrome, Firefox, Edge) and go to the AWS CLI official download page

Step #2:Download AWS CLI Installer for Windows
On the AWS CLI download page, you’ll see options for different platforms. Locate the section for Windows and click on the “64-bit Windows Installer” link if your system is 64-bit. If you’re using a 32-bit system, choose the “32-bit Windows Installer” link.
Step #3:Install and Configure AWS CLI on Windows
Run the Installer:
Click on ‘Next’ on welcome screen display as shown below.

Click on ‘I accept‘ and then click on ‘Next’ .

Once the installer is downloaded, locate the downloaded file (it’s usually in your Downloads folder) and double-click on it to run the installer.

Install AWS CLI: Click on install

Complete Installation:
Click the “Finish” button to complete the installation.

Open your Command Prompt or PowerShell. You can do this by pressing Win + R, typing cmd or powershell, and hitting Enter.
After the installation is complete, you can verify it by checking the AWS CLI version:
aws --versionVerify AWS CLI Installation on Windows and check AWS CLI Version:
To verify that the AWS CLI has been successfully installed, open a new Command Prompt or PowerShell window:
a. Press Win + R, type cmd or powershell, and press Enter.
b. In the command prompt, type the following command and press Enter:
aws --versionc. If installed correctly, you’ll see the version of the AWS CLI displayed in the output.
Configure AWS CLI on Windows:
If this is your first time using the AWS CLI, you’ll need to configure it with your AWS credentials:
a. In the same command prompt, type the following command and press Enter:
aws configureb. Enter your AWS Access Key ID, Secret Access Key, preferred region, and output format (JSON, text, etc.) as prompted.
Testing:
To ensure that AWS CLI is installed and configured correctly, you can run a simple command to list your S3 buckets:
aws s3 lsHow to create an IAM (Identity and Access Management) user in AWS
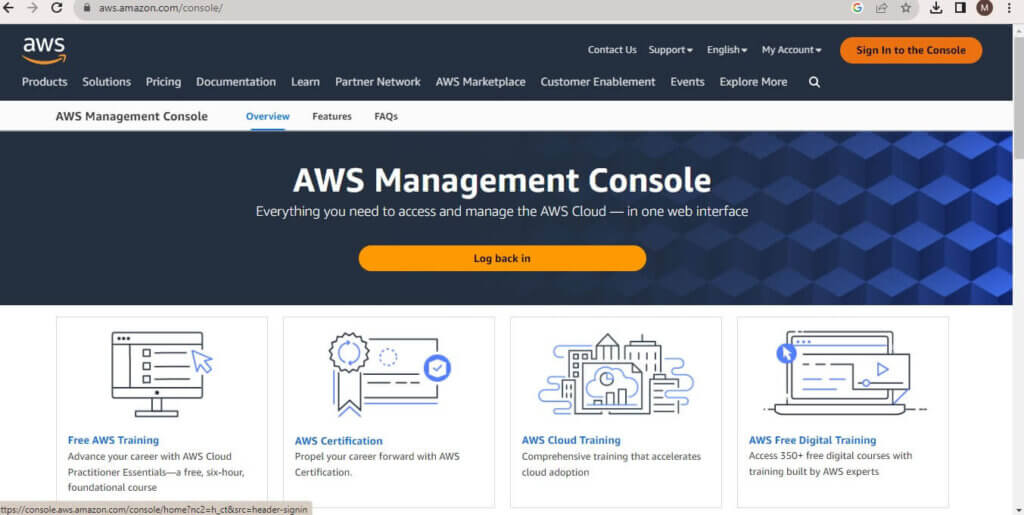
Sign in to AWS Console: Open your web browser and go to the AWS Management Console
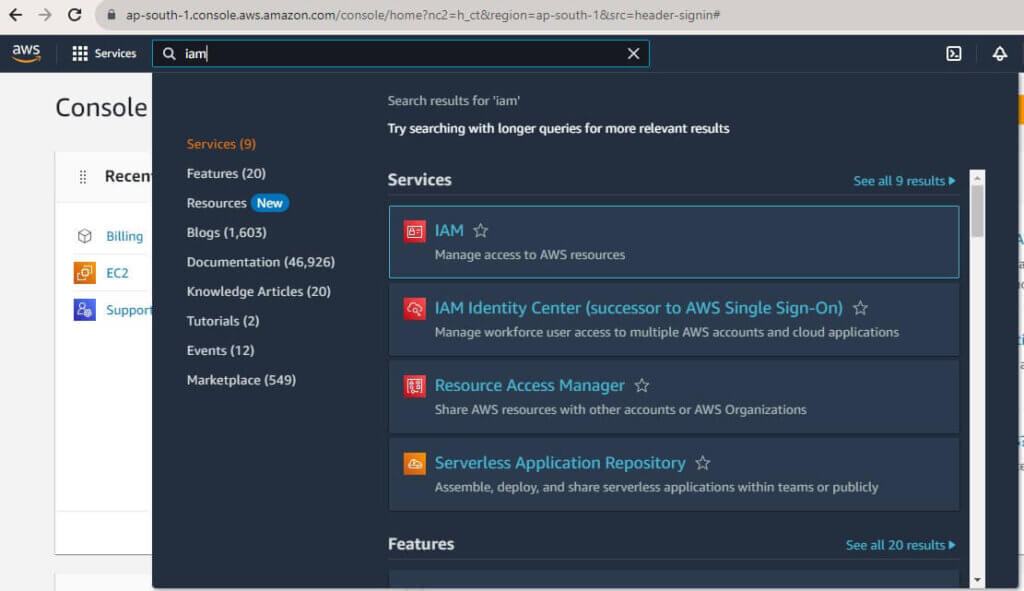
Navigate to IAM: In the AWS Management Console, search for “IAM” in the search bar, or you can find it under the “Security, Identity, & Compliance” section. Click on “IAM” to open the IAM dashboard.
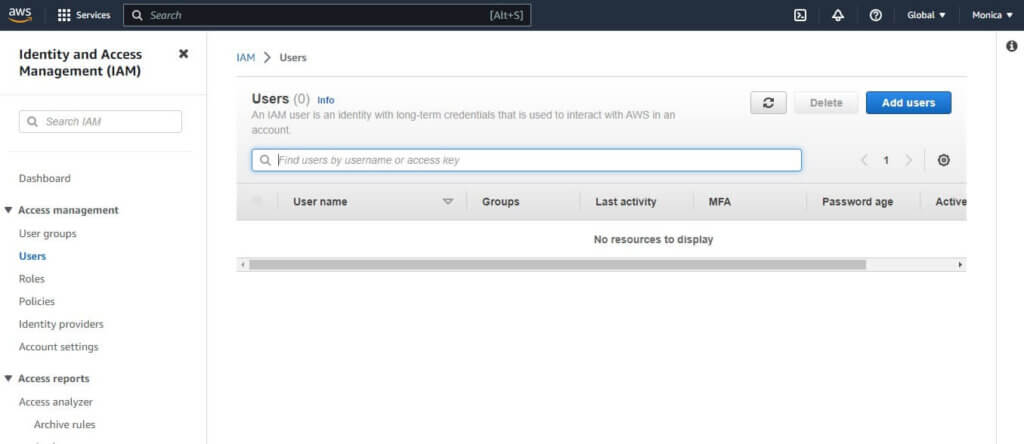
Access the Users Section: In the IAM dashboard, on the left-hand menu, click on “Users.”
Add User: Click the “Add user” button to start creating a new IAM user.
User Details: Fill in the user details:
a. User name: Enter a username for the IAM user.

b. Access type: Select the type of access this user should have. For programmatic access (access via AWS CLI or SDKs), select “Programmatic access.” For AWS ManagementConsole access, select “AWS Management Console access.”
Set Permissions: Choose how you want to set permissions for the user:
a. Add user to group: You can add the user to an existing group that has predefined permissions. Select an existing group from the list.
b. Attach existing policies directly: You can attach existing AWS managed policies directly to the user. Select the policies from the list.
c. Add user to group and attach policies: You can both add the user to a group and attach policies directly. This is a common way to manage permissions.


Add Tags (Optional): You can optionally add tags to the user for organizational purposes.
Review: Review the user’s settings to make sure everything is correct. If everything looks good, click the “Next: Review” button.
Review and Create: Review the information again. If everything is accurate, click the “Create user” button.

Success: The user is now created. You’ll see a confirmation message with the user’s credentials. It’s important to save or download the CSV file containing the user’s access key ID and secret access key if you chose “Programmatic access.” You won’t be able to retrieve the secret access key again for security reasons.
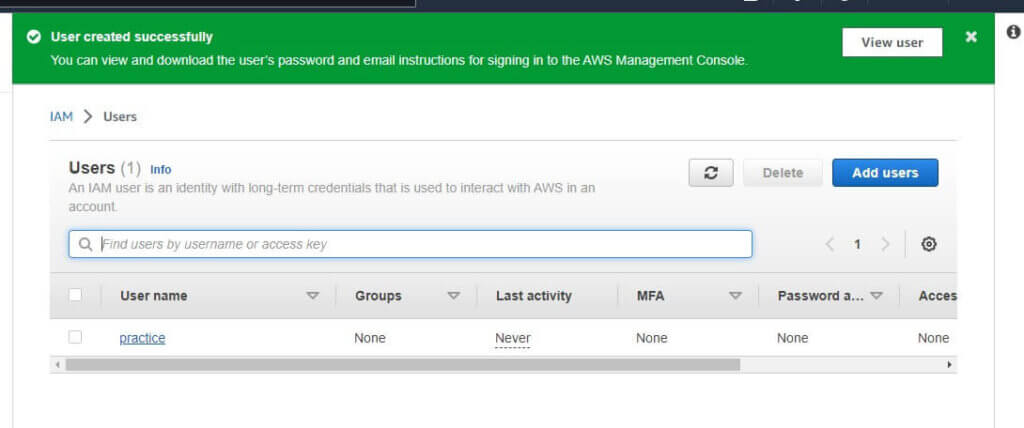
Sending Credentials (Optional): If you’ve created a user with AWS Management Console access, you can choose to send the user’s credentials via email. This is especially useful if you want to provide a user-friendly onboarding process for the IAM user.
That’s it! You’ve successfully created an IAM user in AWS. Depending on the access type you chose, the user can now use the provided credentials to access AWS resources programmatically or through the AWS Management Console.
Configuring an AWS profile using PowerShell
Configuring an AWS profile using PowerShell involves setting up AWS CLI with a named profile. Here’s a step-by-step guide:
Make sure the AWS CLI is installed and working in your PowerShell before proceeding.
Open PowerShell: Press Win + R, type powershell, and press Enter to open a PowerShell window.
Configure AWS Profile: In PowerShell, you can configure AWS profiles using the aws configure command. Replace ‘profile-name‘ with the desired profile name (e.g., my-profile).
aws configure --profile profile-name
Enter AWS Access Key ID and Secret Access Key: You’ll be prompted to enter your AWS Access Key ID and Secret Access Key. Enter these credentials when prompted.(you can generate it in security credentials of concern user).
AWS Access Key ID [****************H652]: AKIAZDRD5KXYSM4R3YHT
AWS Secret Access Key [****************aMR3]: 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
Set Default Region: After entering the credentials, you’ll be asked for the default AWS region for the profile. Enter the desired region code (e.g., us-east-1).
Default region name [ap-south-1]: us-east-1Output Format (Optional): You’ll also be asked to specify the default output format (e.g., json, text). This determines how AWS CLI responses are displayed. You can leave this blank to use the default (json).
Testing and Using the Profile: Once you’ve configured the profile, you can test it by running AWS CLI commands with the profile name.
For example,Using the Profile: To view the contents of the ~/.aws/credentials file using the equivalent of the cat command, you’ll need to provide the full path to the file. By default, the AWS credentials file is located at C:\Users\<your-username>\.aws\credentials.
Creating an S3 Bucket and Uploading Files using AWS CLI
Create an S3 Bucket using AWS CLI:
The aws mb command is used to create an S3 bucket using the AWS Command Line Interface (CLI). Here’s a guide on how to use the aws mb command to create an S3 bucket:
To create an S3 bucket, you can use the aws command. Replace mb <your-bucket-name> with your desired bucket name (it must be globally unique):
Syntax:
aws s3 mb s3://bucket_nameReplace <bucket-name> with your desired bucket name (it must be globally unique) and <region> with the AWS region where you want to create the bucket (e.g., us-east-1).
Default region name [us-east-1]: ap-south-1For example, to create an S3 bucket named ‘my-example-bucket‘ in the ‘us-south-1‘ region.
Remember that bucket names must be unique across all of AWS, so if someone else has already taken the bucket name you want, you’ll need to choose a different name.
Example:
aws s3 mb s3://practiceUpload a File in S3 bucket using AWS CLI
Replace <bucket-name> with the name of the S3 bucket you want to list the contents of. For example, to list the contents of an S3 bucket named my-example-bucket:
When you run this command, it will show you a list of objects (files and folders) within the specified bucket.
PS C:\Users\HP> aws s3 lsfollowing output will confirms that bucket you created exists.
After creating the bucket, you can upload a file to it using the aws s3 cp command. Replace <local-file-path> with the path to the file you want to upload, and <s3-bucket> with the name of the bucket you created:
aws s3 cp <local-file-path> s3://<s3-bucket>/
This command will upload the file to the root of the S3 bucket. If you want to specify a different path within the bucket, modify the destination path in the s3://<s3-bucket>/ parameter.
For example, to upload a file named example.txt from your local directory to an S3 bucket named my-bucket:
Example:
aws s3 cp D:/textfile.txt s3://practiceNow you can verify the file has been uploaded or not by navigating to the AWS S3 console.
Go to the AWS Management Console (https://aws.amazon.com/console/), sign in, and then navigate to the Amazon S3 service by searching for “S3” in the search bar or by finding it under the “Storage” section. ( Here file name is ‘abc’)
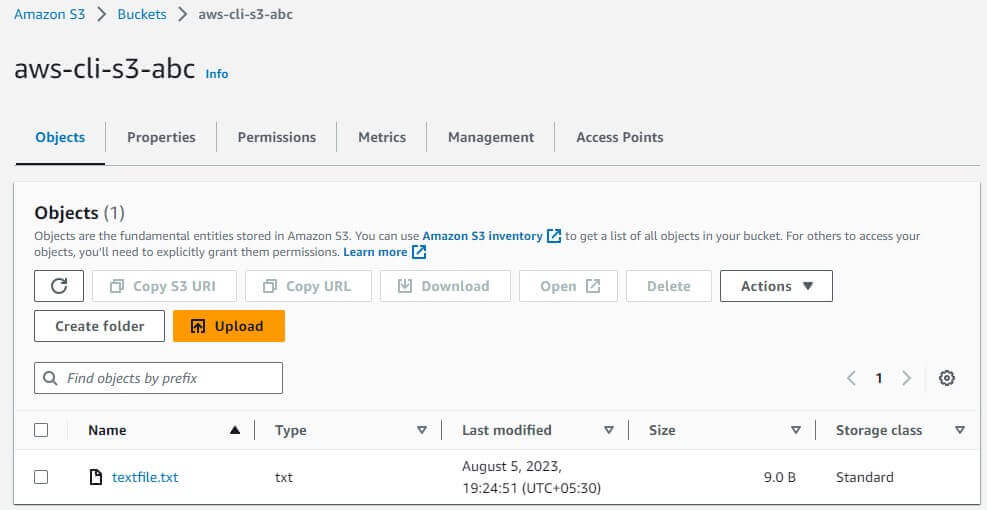
Conclusion:
In this article we have covered How to Install and Configure AWS CLI on Windows and Creating an S3 Bucket and Uploading Files using AWS CLI.
Related Articles: