In this article, We are going to cover How to Install Azure CLI on Windows, Login to Azure and Uninstall Azure CLI from Winnows 10.
How to Install Azure CLI on Windows
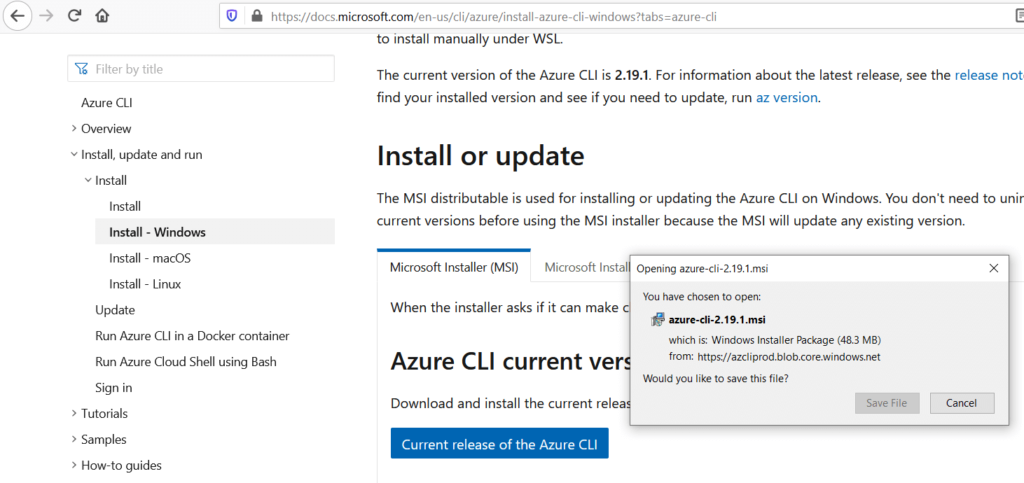
Step #1: Download Azure CLI .msi for Windows OS
Download the latest Azure CLI version for Windows from official Azure Site. Click on Current release of the Azure CLI and click on Save file.
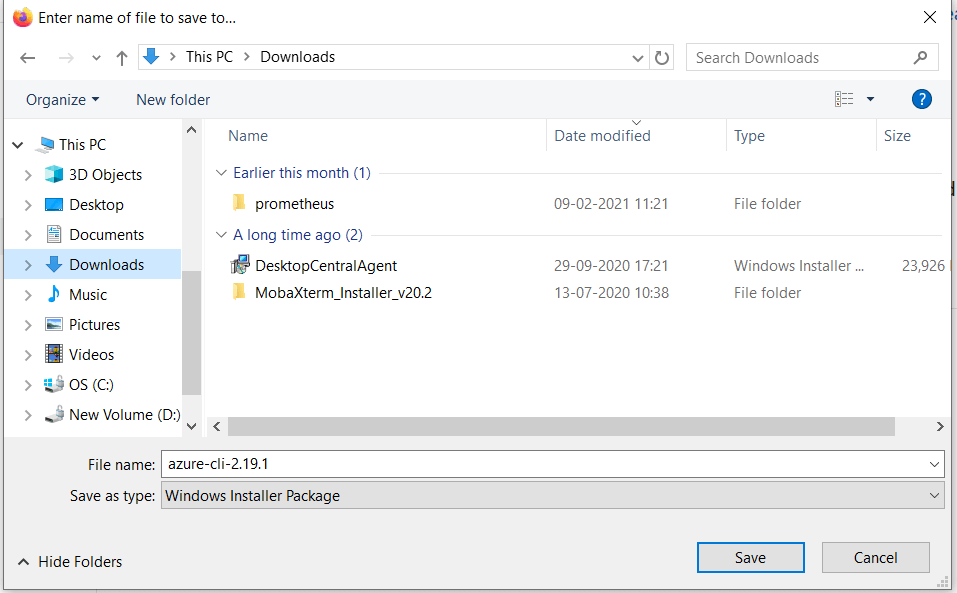
Save the Azure CLI .msi in your system.
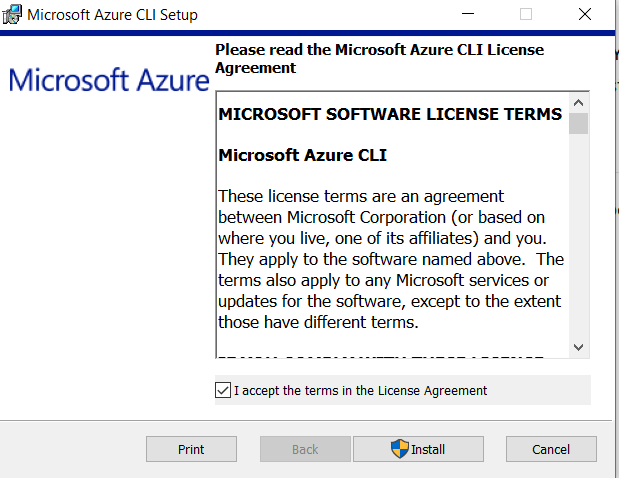
once saved, Double click on Azure CLI msi, Accept the License agreement and Click on Install
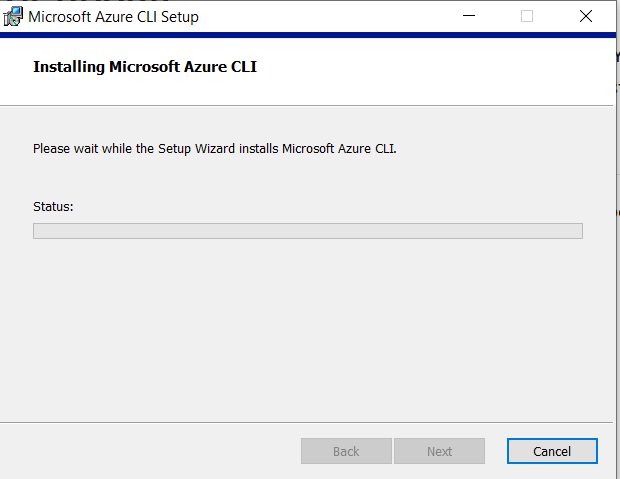
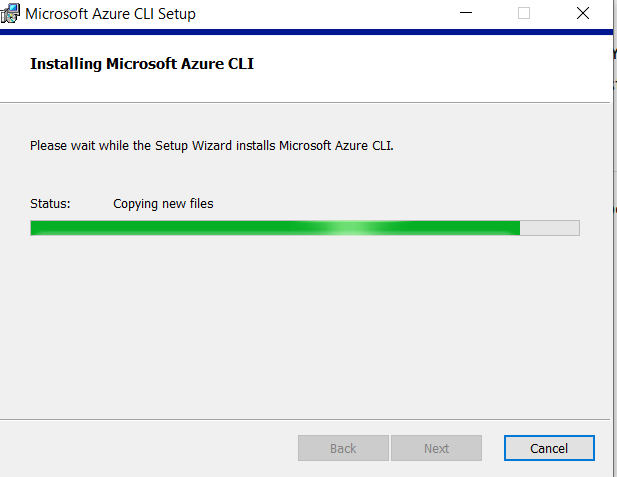
wait till Azure cli to install .
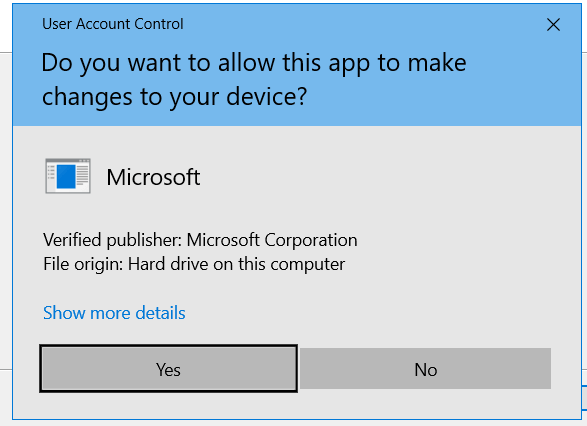
Allow the Azure CLI app in your system
wait till Azure cli installation to complete.
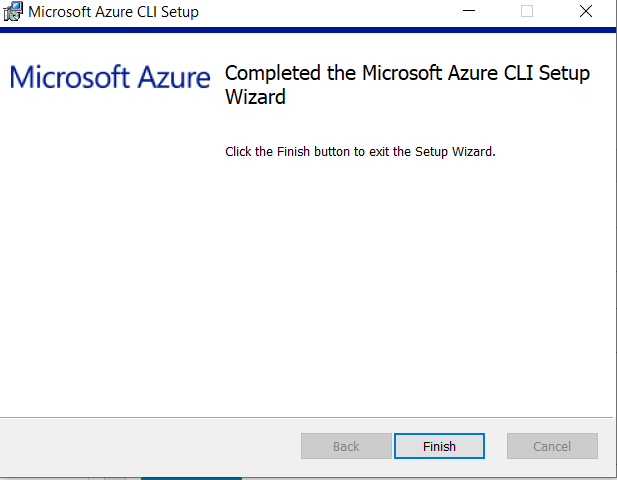
Click on Finish.
OR
Installing Azure CLI using Powershell command
You can install Azure CLI using below powershell command
Invoke-WebRequest -Uri https://aka.ms/installazurecliwindows -OutFile .\AzureCLI.msi; Start-Process msiexec.exe -Wait -ArgumentList '/I AzureCLI.msi /quiet'; rm .\AzureCLI.msi
Step #2: Login to Azure using CLI
To login Azure CLI open command prompt or Windows power-shell and enter below command
az login

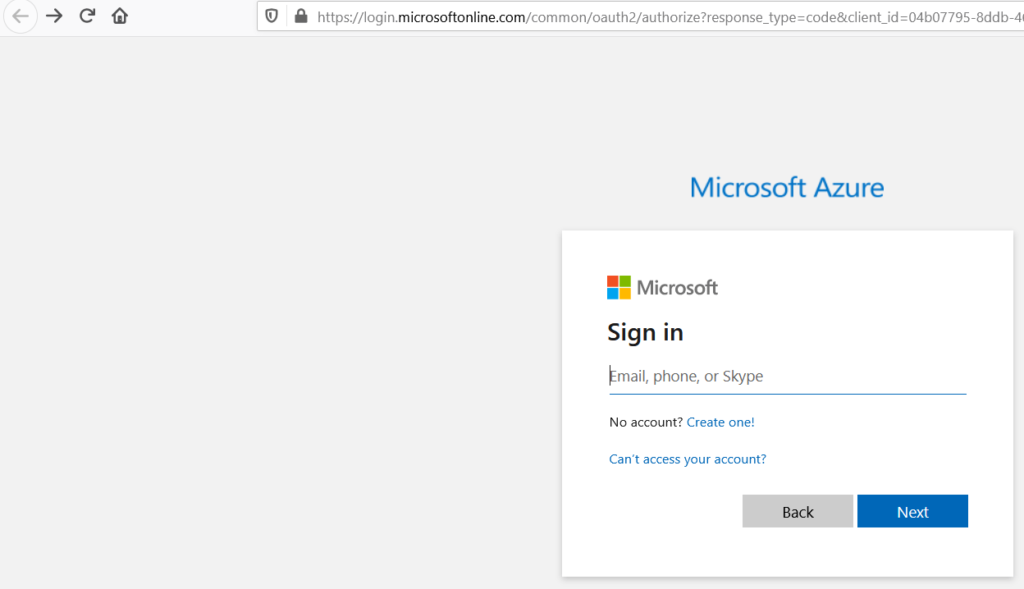
you will be redirected to Azure portal, Login to Azure Portal with your username and password.
Uninstall Azure CLI from Windows
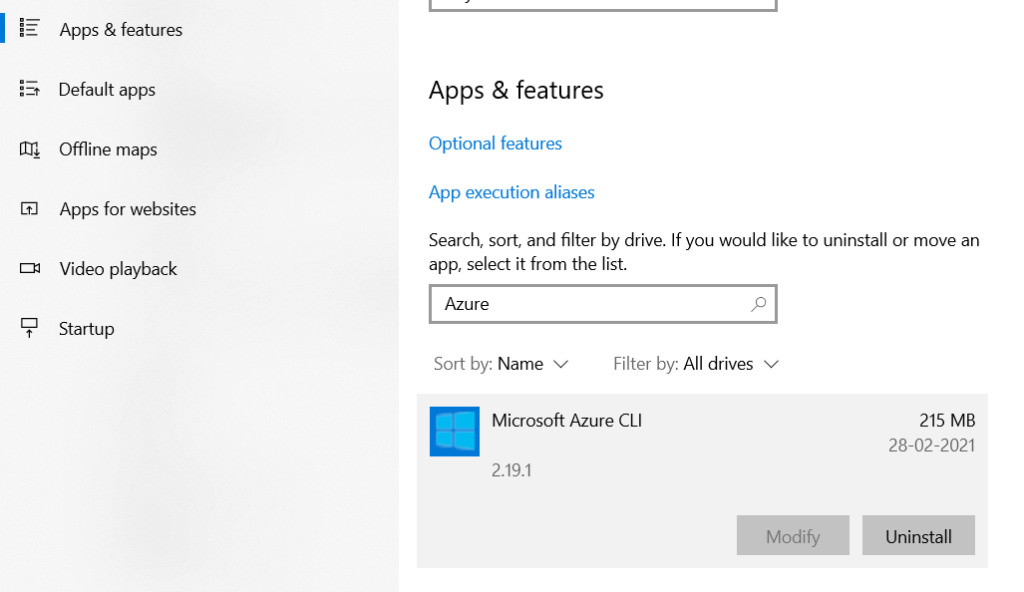
To uninstall Azure CLI from Windows 10 Go to Start -> then Settings > Apps
Type Azure search box and click on Uninstall.
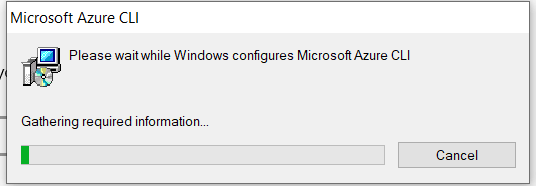
wait till uninstallation of Azure CLI to complete.
Conclusion:
We have covered How to Install Azure CLI on Windows, Login to Azure and Uninstall Azure CLI from Winnows 10.
Related Articles:
How to Create a Virtual Machine Azure [8 Steps]
How to Install Azure CLI on Ubuntu 20.04/18.04 LTS
How to Create SQL Database in Azure/How to create SQL DB in Azure