In this article, We are going to cover How to Create a Virtual Machine Azure and connect to Azure Windows Virtual Machine using RDP.
Here we are creating windows Virtual Machine in Azure
How to Create a Virtual Machine Azure
Below are steps to create Windows Server Virtual Machine in Azure
Login to Azure Portal with your username and password. Go to All Services in Azure Portal
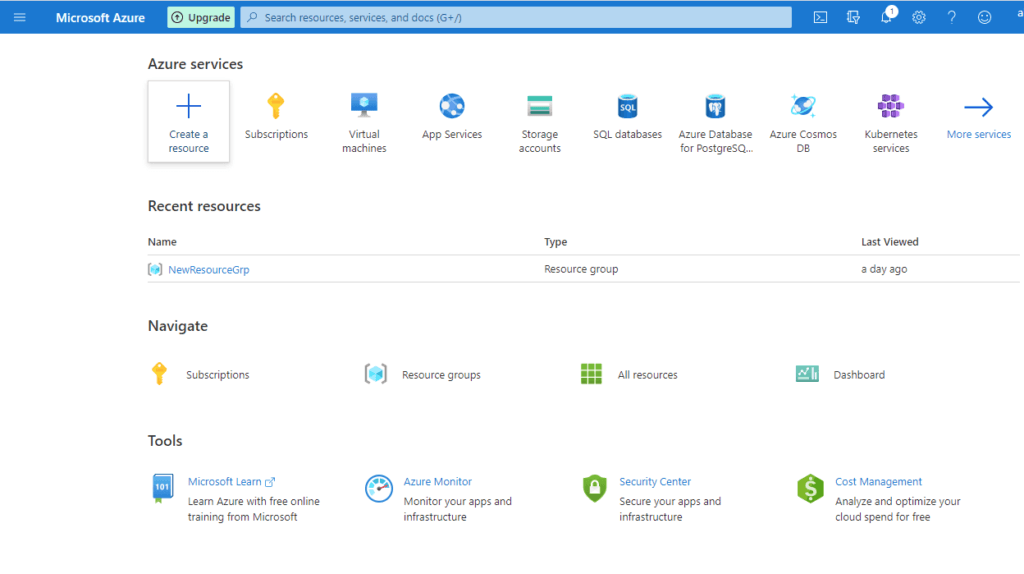
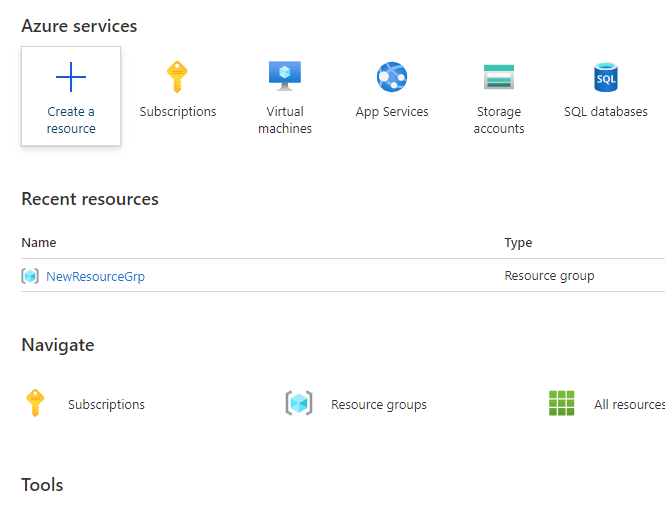
once logged in you will see below Azure Portal Dashboard , Click on Create a Resource
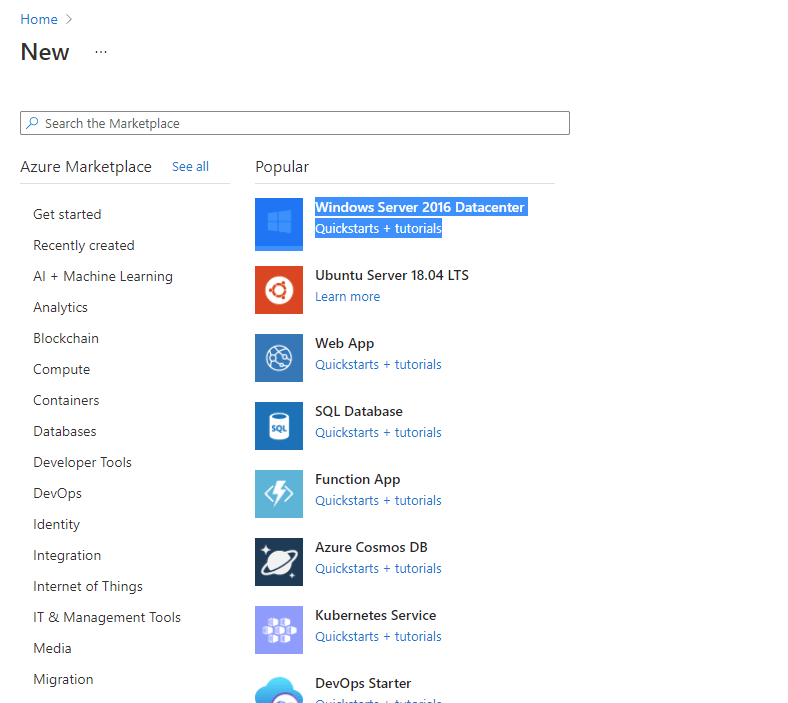
Here we are creating Windows Server 2016 in as a Azure Virtual Machine.
Step #1: Basics– Select subscription.
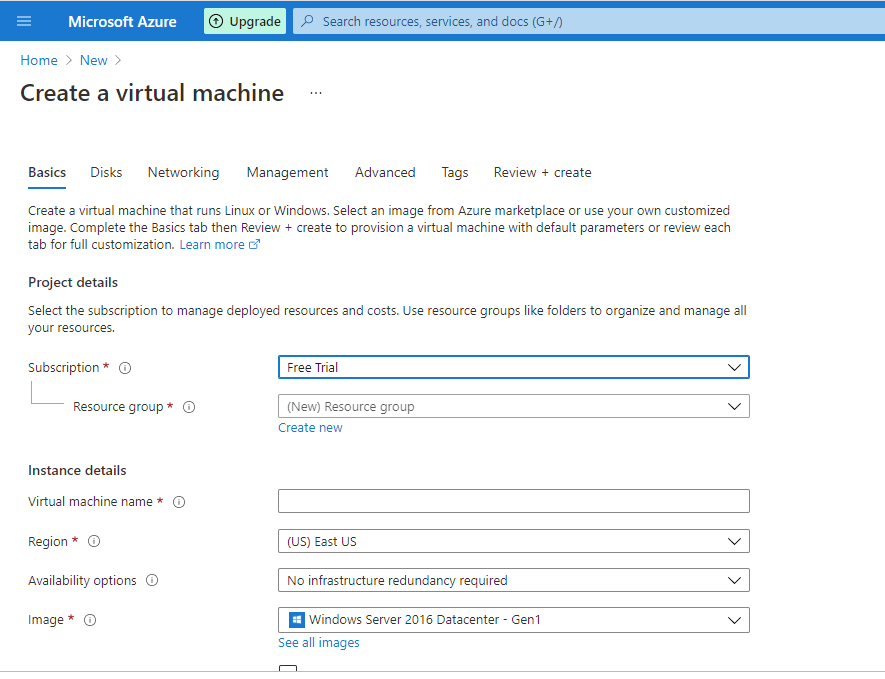
Select resource group, Virtual Machine name, Region.
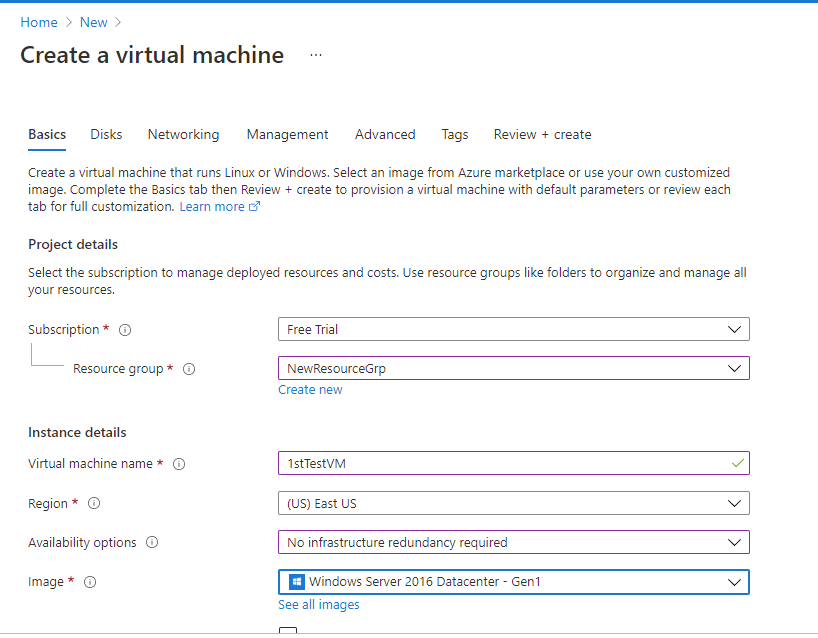
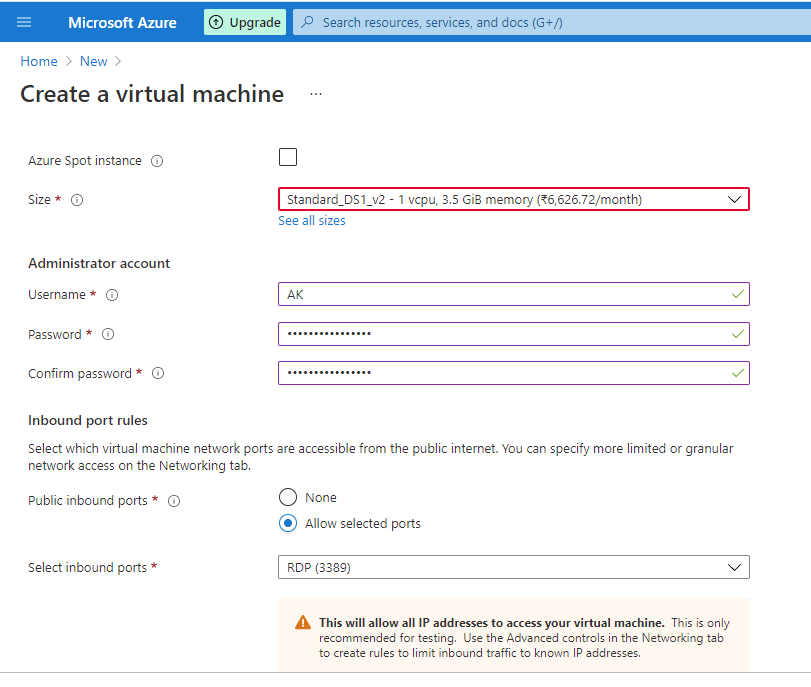
Select Instance type/Size, Input login Username and Password, select inbound port to connect Windows VM.
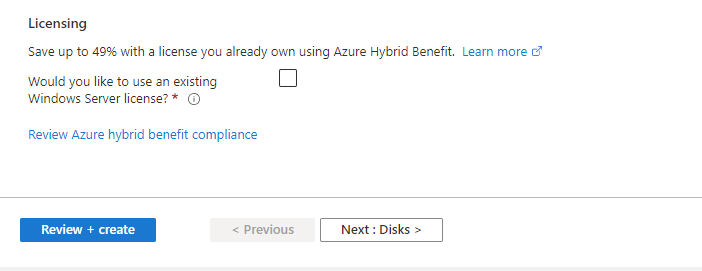
select Licensing and click on Disks.
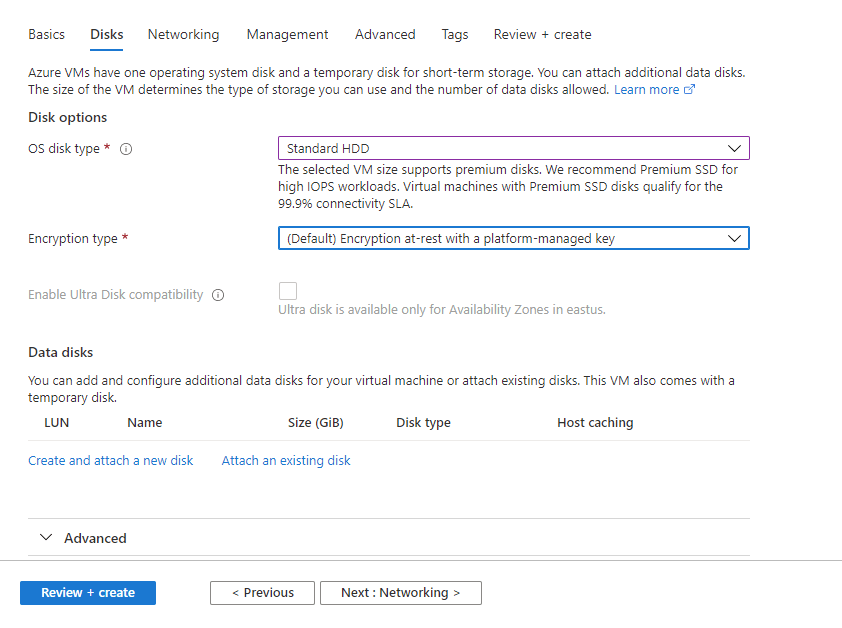
Step #2: Disks – select OS disk type , Encryption type and click on Networking.
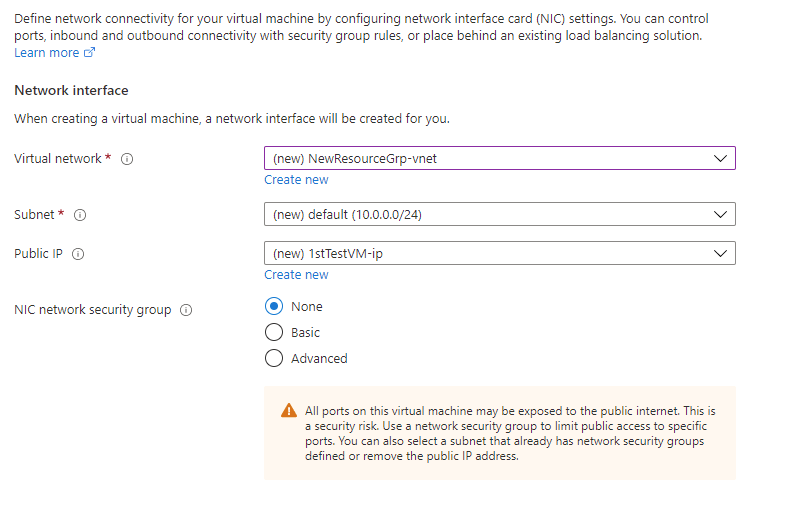
Step #3: Networking – Select Virtual network, Subnet , Public IP, Nic Network Security Group
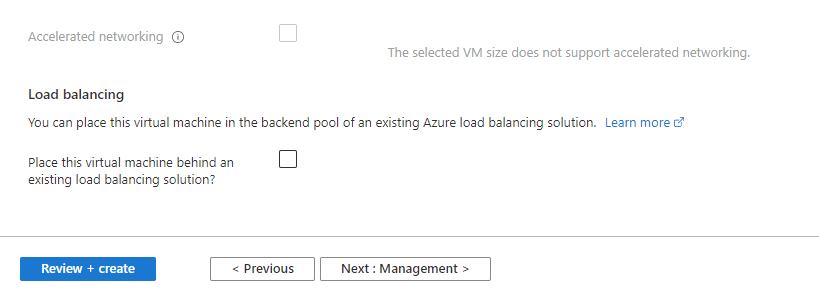
select Load Balancing if you want and click on Management.
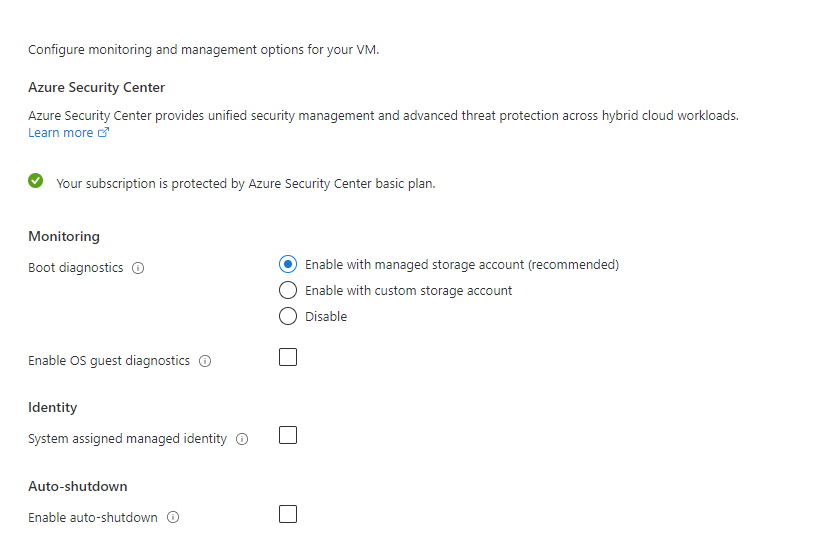
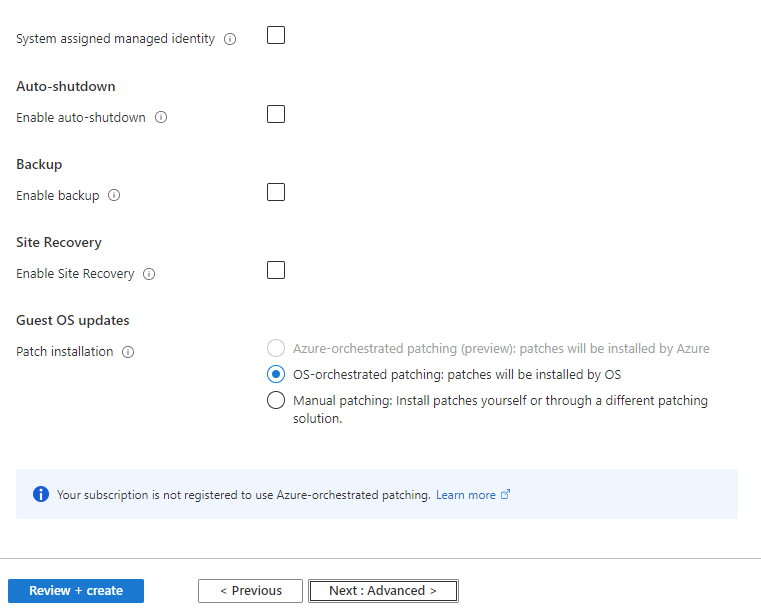
Step #4: Management– select Boot Diagnostics, patch installation option and click on Advanced.
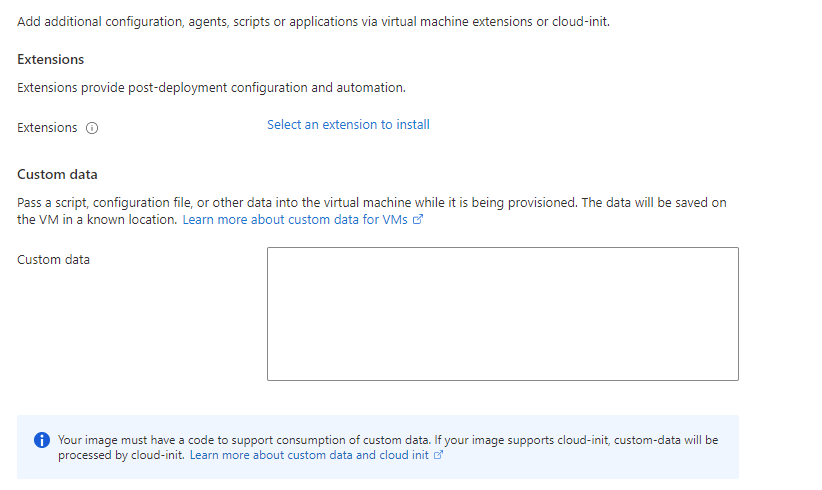
Step #5: Advanced select Auto-shutdown, Backup and site recovery.
select extensions and custom data if any,
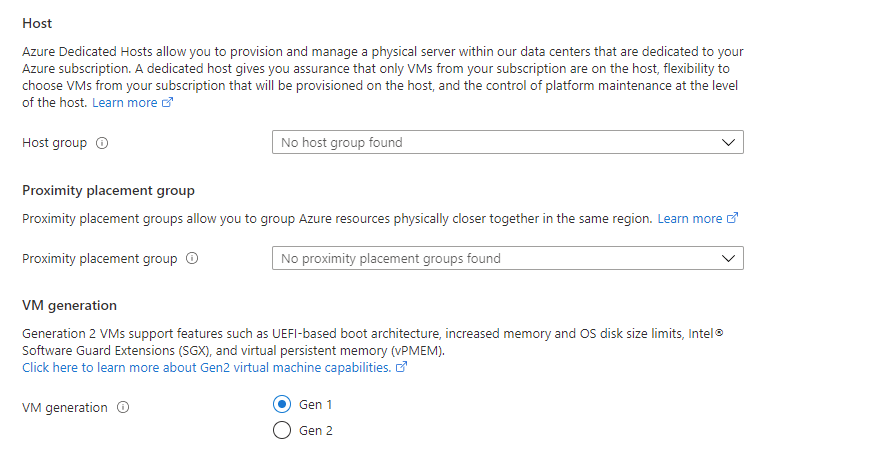
select Host Group and VM Genration type, click on Tags.
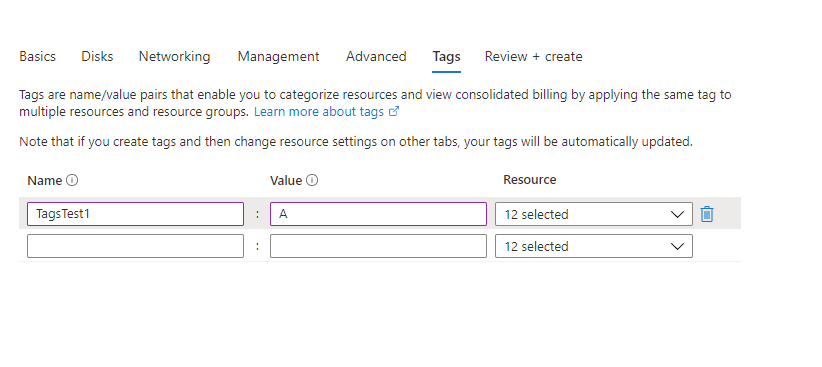
Step #6: Tags – Input VM tags.
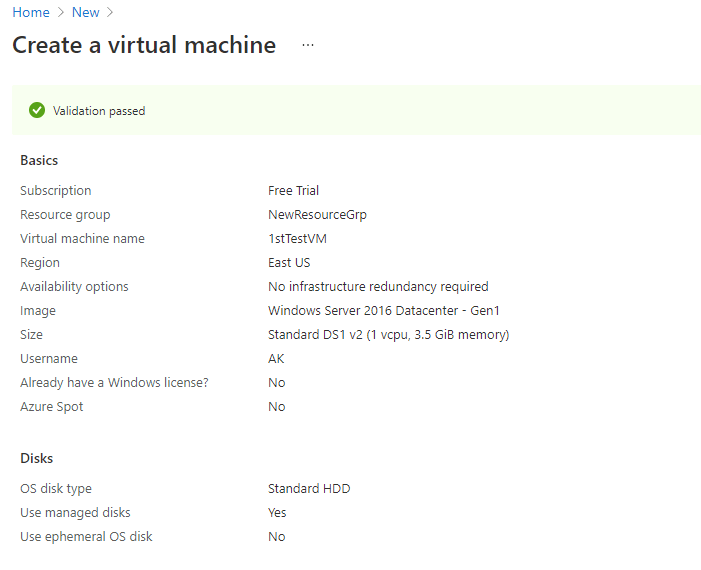
Step #7: Review+ create: Review the Azure VM
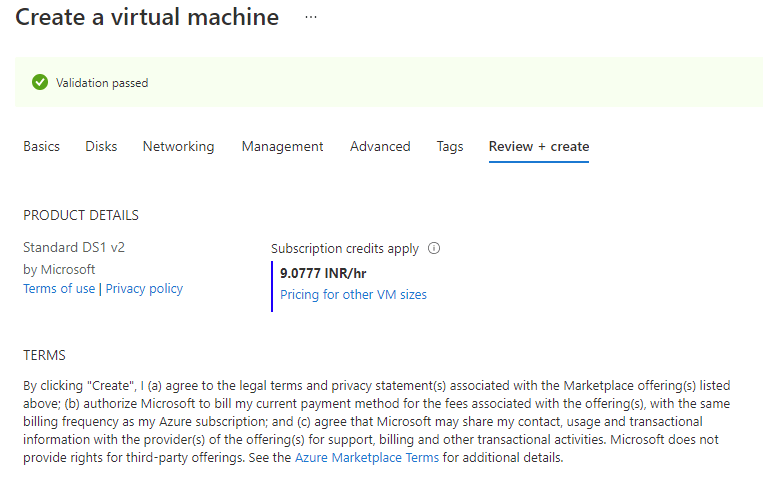
Review Azure VM Basics
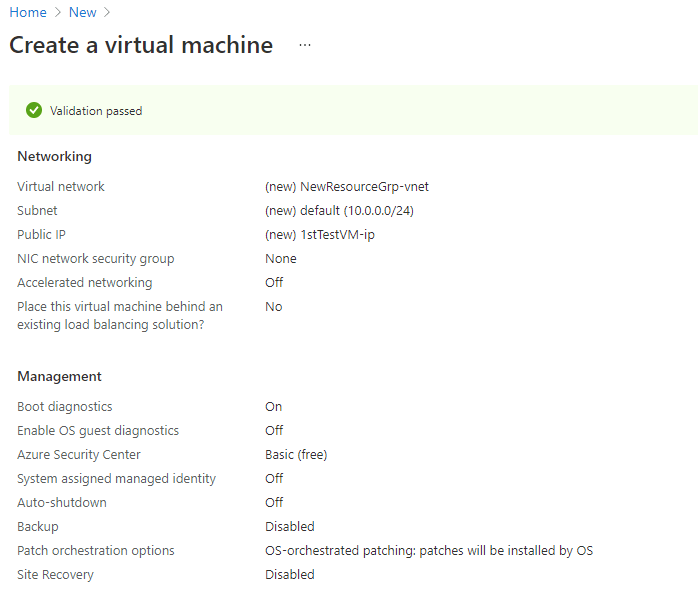
Review networking and management.
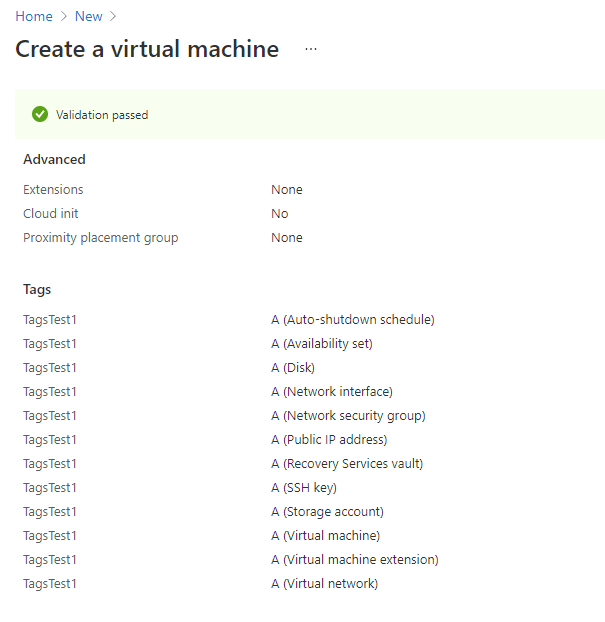
Review Advanced and Tags
wait to deploy Azure VM
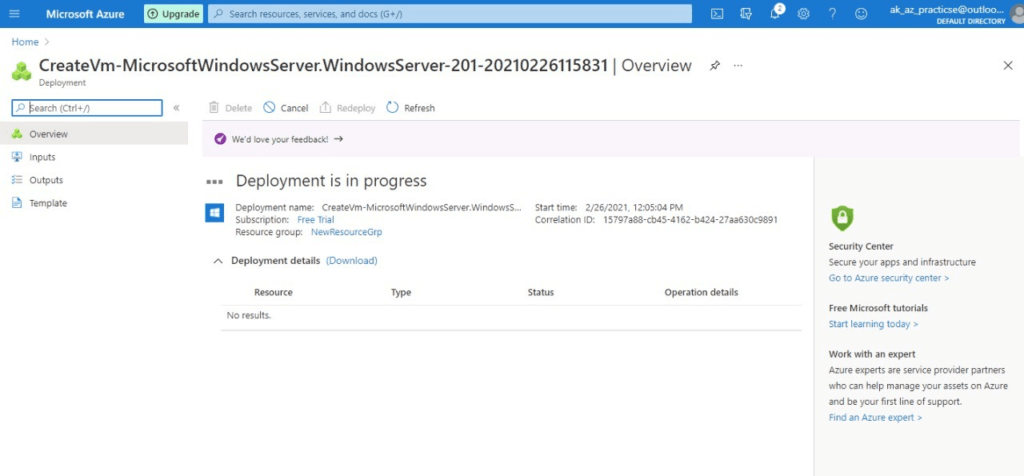
VM deployment in complete
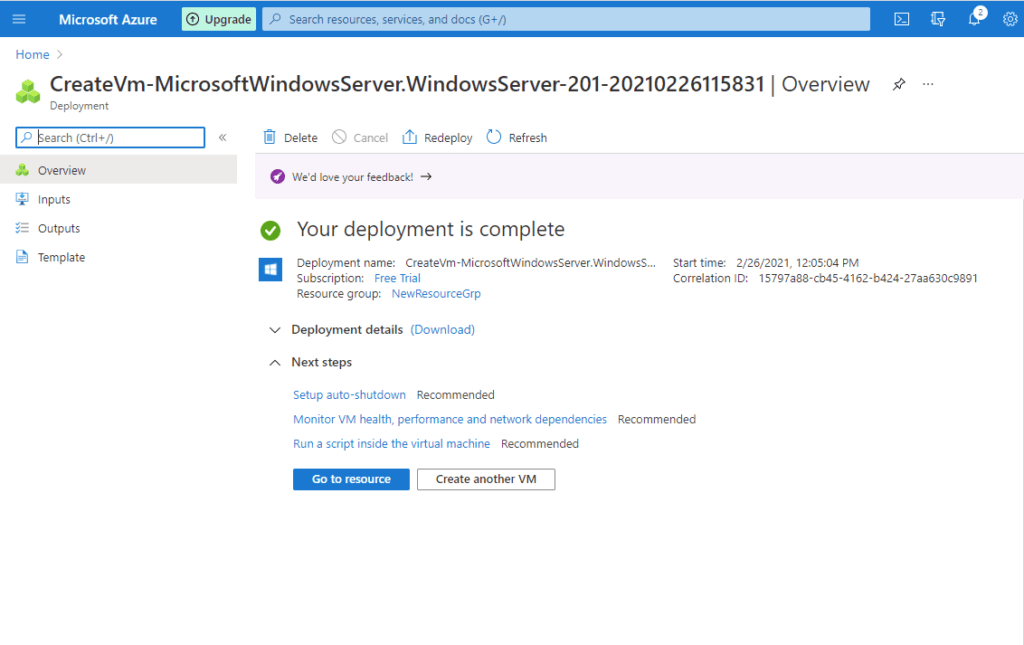
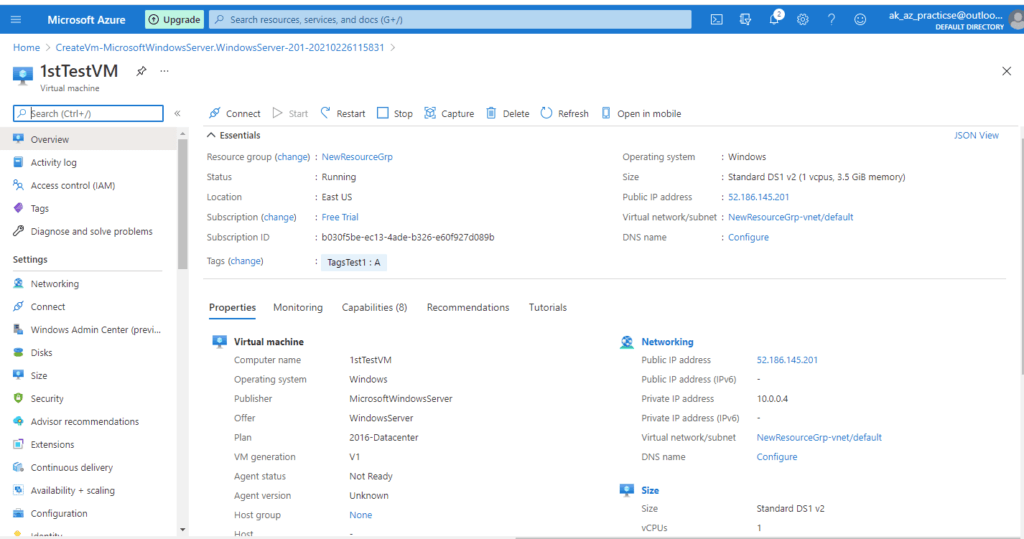
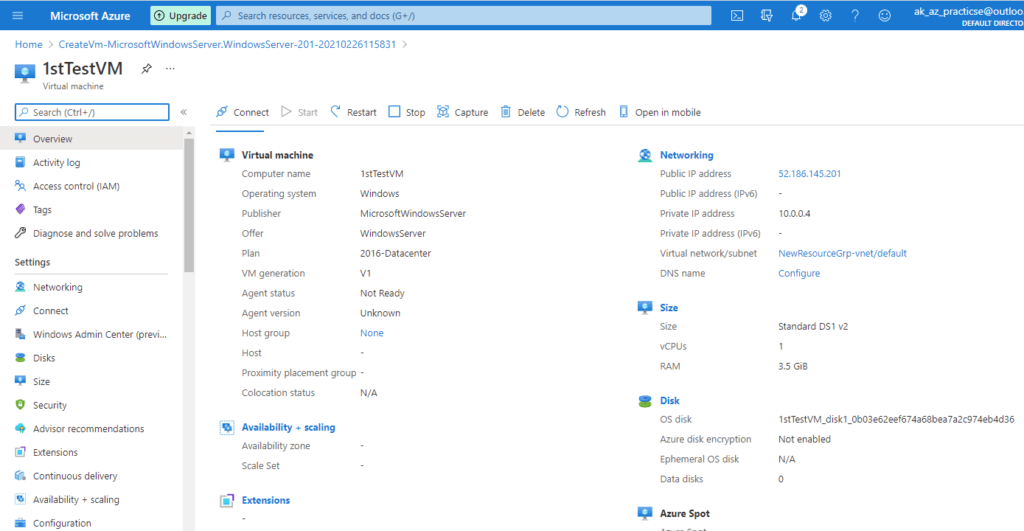
Go to Overview of your created Azure VM
Step #8: Connect to Windows Azure Virtual Machine using RDP, Click on connect at left side
connection option to your Windows Azure Machine, select RDP, take IP and Port number, click on Download RDP file.
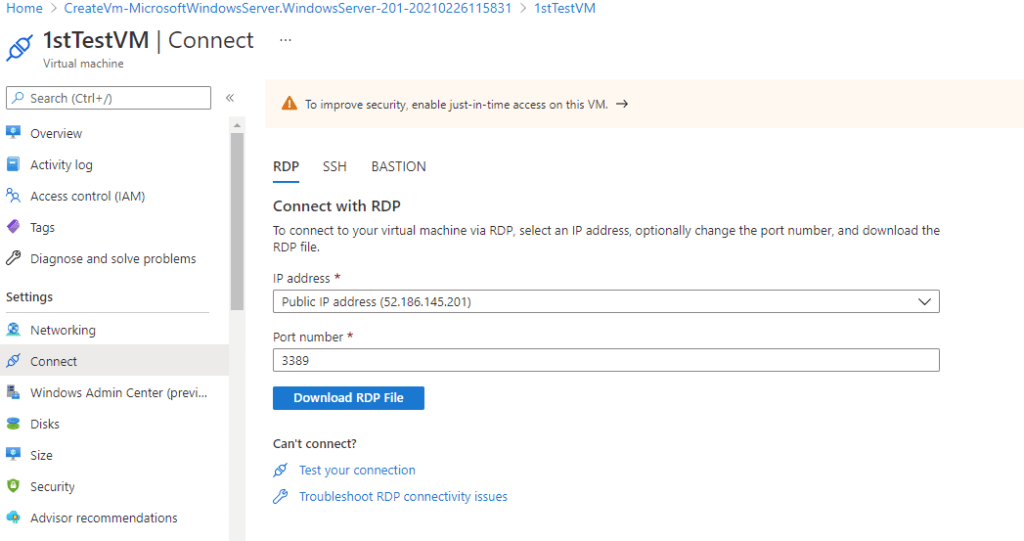
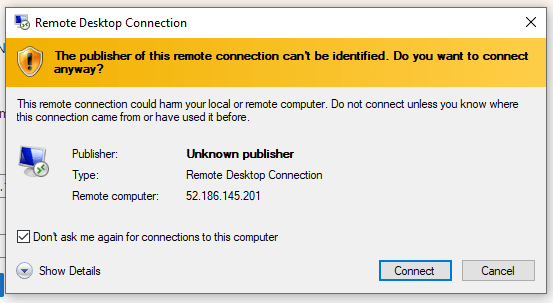
click on connect.
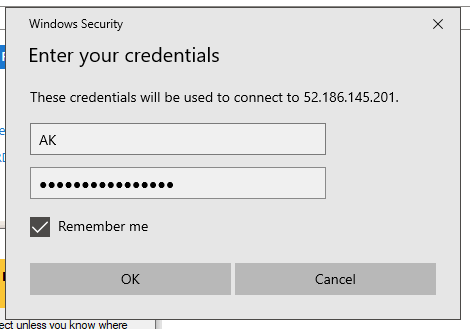
Enter RDS username and password, you have set while creating Azure VM.
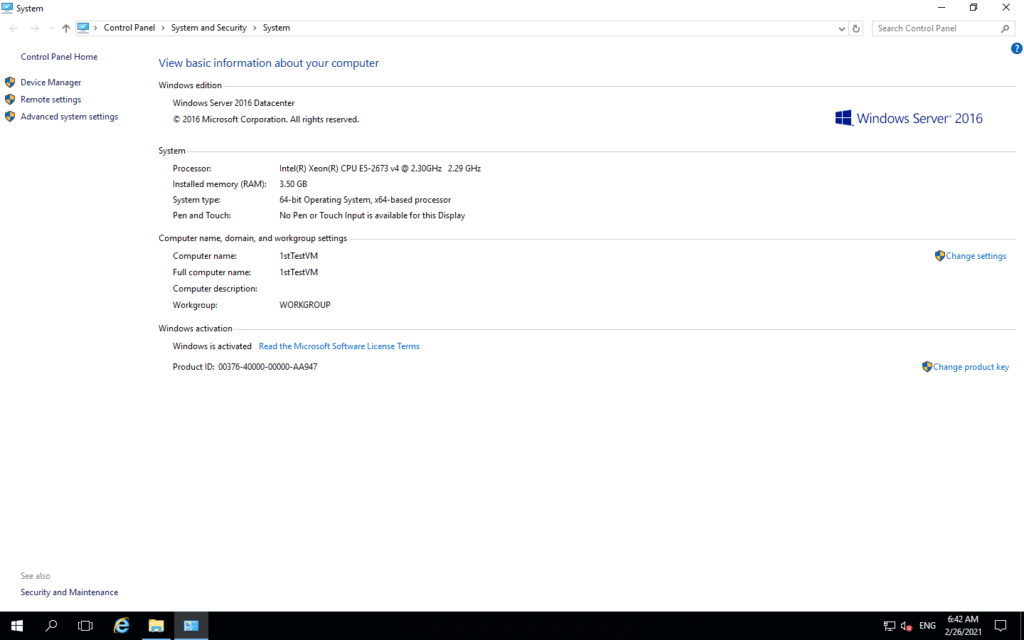
now you have logged in to your first Azure Virtual Machine.
Conclusion:
We have covered Create a Virtual Machine Azure and connect to Azure Windows Virtual Machine using RDP.
Related Articles:
How to Install Azure CLI on Ubuntu 20.04/18.04 LTS
Reference: