In this article we are going to cover install Google Cloud CLI on windows step by step in detailed explaination.
What is CLI in Google Cloud?
The Google Cloud CLI is a set of tools to create and manage Google Cloud resources. You can use these tools to perform many common platform tasks from the command line or through scripts and other automation.
Pre-requisite :-
- Windows 8.1 and later and Windows Server 2012 and later
Installation steps of Google cloud CLI on Windows:-
Step #1:Download Google CLI for Windows
Go to Google Cloud official website and Download the Google Cloud CLI installer. OR open power shell terminal and run the below command.
(New-Object Net.WebClient).DownloadFile("https://dl.google.com/dl/cloudsdk/channels/rapid/GoogleCloudSDKInstaller.exe", "$env:Temp\GoogleCloudSDKInstaller.exe")
& $env:Temp\GoogleCloudSDKInstaller.exe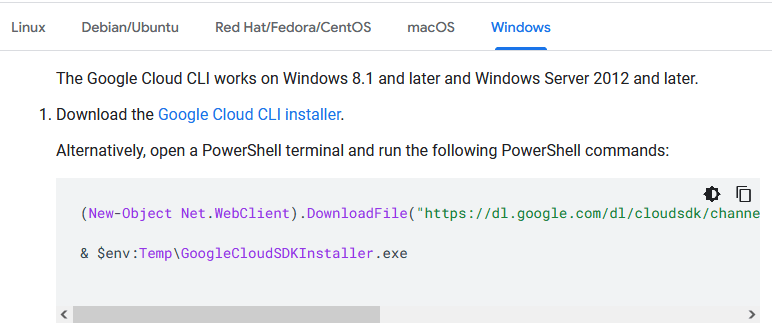
Step #2: Install Google Cloud CLI on Windows
Launch the downloaded installer and follow the instruction for installing packages. The installer will install all required dependencies including Python 3. (Note: If you already have Python 3 installed, uncheck the “Install Bundled Python” checkbox. Check the “Turn on screen reader mode” checkbox if you use a screen reader.)
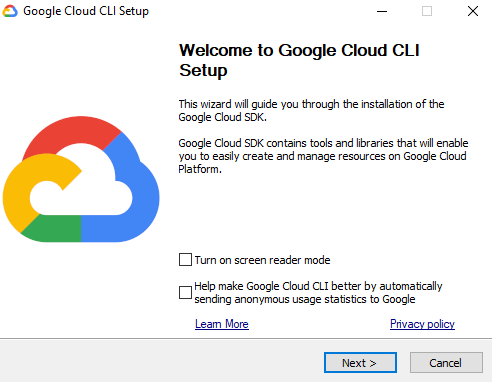
Click on next until you did not get finish to close setup.

After the click on finish opens a terminal window to execute the command.
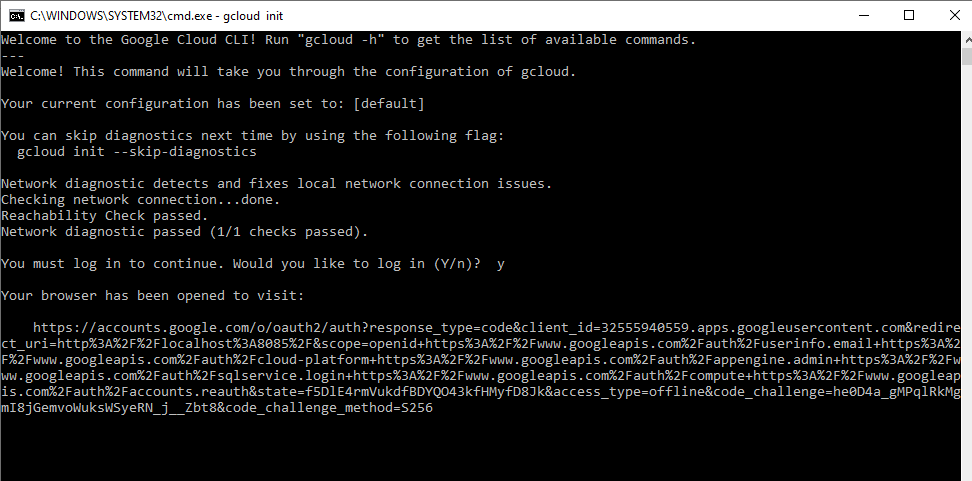
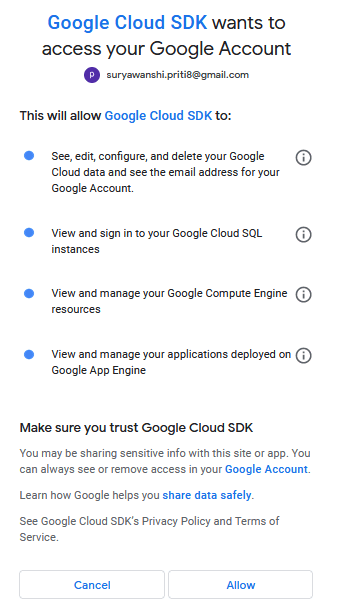
Step #3:Authenticate Google Cloud CLI with Gmail
You get message like you must log in to continue? Then enter y.
After your page navigate to sign in google. Choose an account or email id
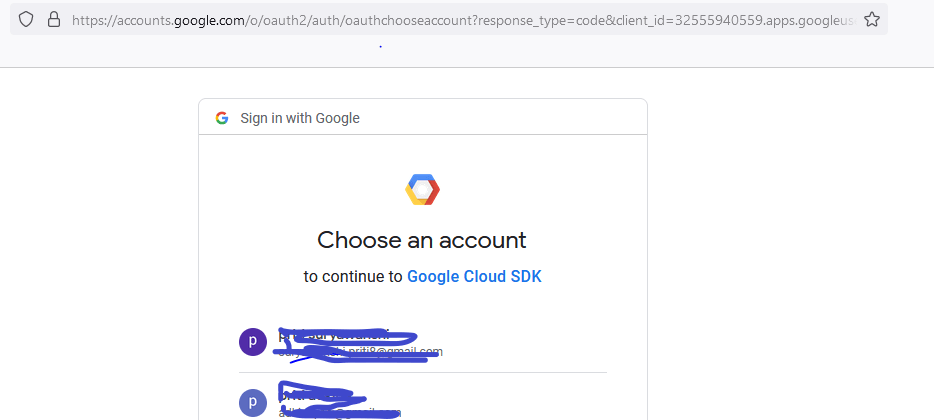
Click on allow.
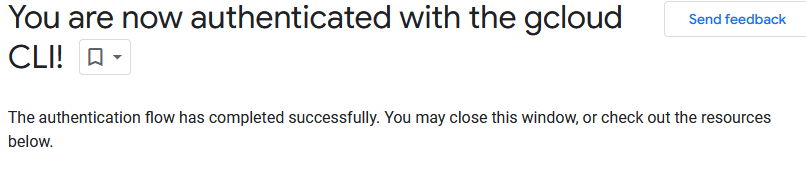
You will get authentication message like below
We have covered Google Cloud CLI on windows Step by step in detailed explaination
Conclusion:
We have covered Download Google CLI for Windows, install Google Cloud CLI on windows, Authenticate Google Cloud CLI with Gmail
Related Articles: