This article walks you through the How to Install WordPress in cPanel Manually | manual method of installing WordPress using cPanel — from downloading files to logging into your dashboard.
WordPress is one of the most widely used open-source content management systems (CMS), allowing users to build and manage websites with ease. cPanel is a powerful web hosting control panel that simplifies the process of managing websites, emails, databases, and more, through a user-friendly interface.
Using WordPress with cPanel allows users to set up websites quickly. While one-click installers like Softaculous automate the process, manual installation offers greater control — particularly for improving security and customizing settings.
Table of Contents
Step #1:Get the Latest Version of WordPress
Visit the official WordPress.org website.

Click on the Get WordPress button.

On the following page, click Download WordPress 6.8 to save the ZIP file to your computer.

Step #2: Upload WordPress Files to Your Server
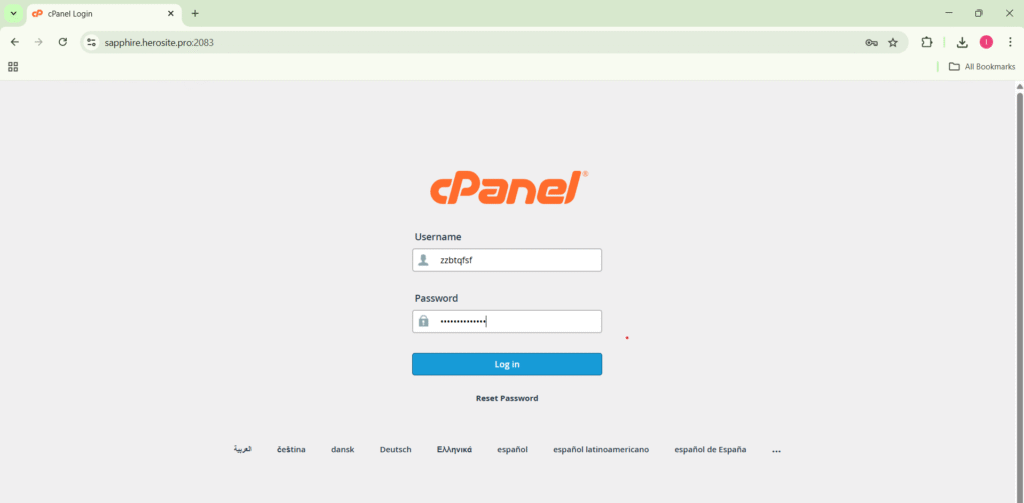
Open your browser and go to yourdomain.com/cpanel.

Log in using your cPanel username and password.
Scroll down to the Files section and click File Manager.

Navigate to the root directory for your website (usually public_html).

Click the Upload button from the top menu.

Drag and drop the WordPress ZIP file or click Select File to browse and upload it.
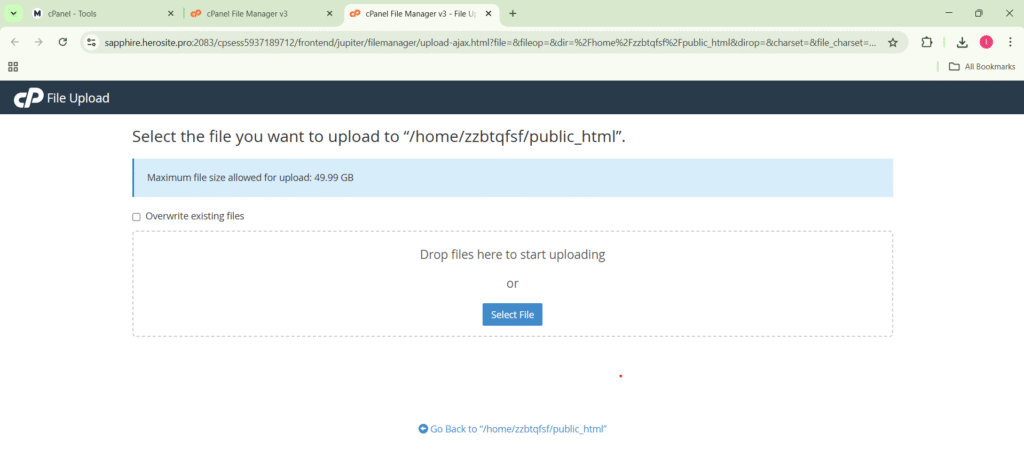
Once uploaded, click Go Back to return to the file directory.

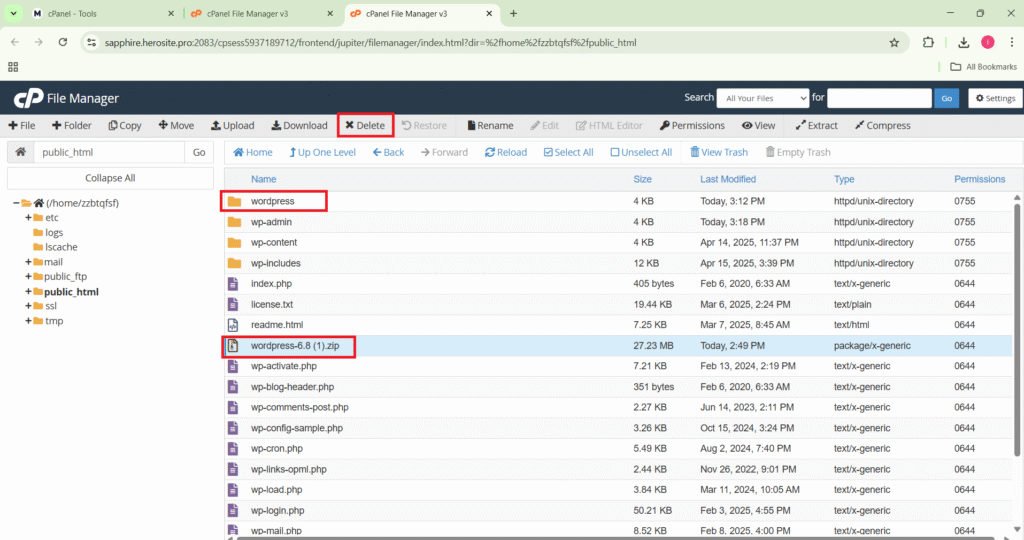
Right-click the ZIP file and select Extract, then confirm by clicking Extract Files.

Open the newly extracted wordpress folder.

Use Select All to highlight all contents, then click Move from the toolbar.

In the move prompt, delete /wordpress from the file path to move everything to the root folder.

Click Move Files.

Click Up One Level meaning go back to root directory.

Delete both the original ZIP file and the now-empty wordpress folder.
Step #3:Create a New MySQL Database
In cPanel, scroll to the Databases section.

Click on MySQL Databases (or My Databases, depending on your host).

In the Create New Database field, enter a name for your database and click Create Database.

Once created, a confirmation message will appear

Step #4: Create a Database User
To create a user scroll to the Database Users section. Enter a username, set a strong password, and click Create User.

Step #5:Assign User to Database and Assign Permissions
The newly created user needs access to the database:
Find the Add User To Database section of the page.
Under the User drop-down menu, select the newly created user.
Choose the newly created database under the Database drop-down menu and click Add.

On the next screen, check the All Privileges box to grant full access and (Optional) uncheck DROP if you want to prevent accidental deletion of the database.

Click Make Changes to save the permissions.

Step #6:Run the WordPress Installation Script
Now that everything is set up, you can install WordPress:
Visit your domain in the browser (e.g., https://yourdomain.com).

Choose your preferred language and click Continue.

On the next screen, click Let’s go! to begin the database configuration.

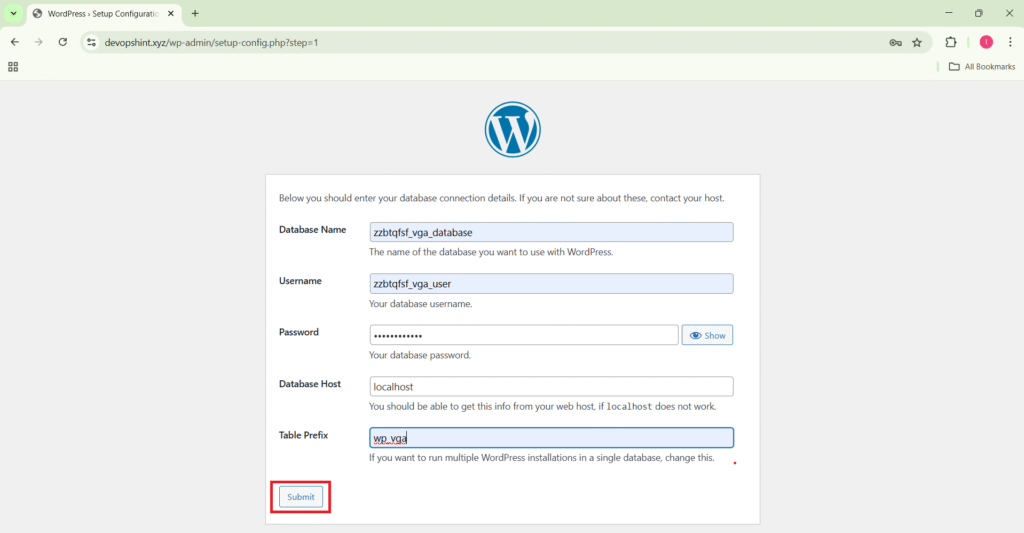
Fill in the required database details:
- Database Name: Enter the name of the database you created in cPanel.
- Username: Enter the MySQL user you created.
- Password: Use the password set for that user.
- Database Host: Typically, use
localhost. - Table Prefix: Change it from
wp_to something custom (e.g.,mywp_) for added security.

Click Submit button.
Click the Run the installation button to proceed to the site setup screen.

Step #7:Set Up Your WordPress Site
On the next screen, fill in the following details:
- Site Title – The name of your website.
- Username – Choose a unique admin username (avoid using “admin” for security).
- Password – Set a strong password.
- Your Email – Enter a valid email address for account recovery and notifications.
- Search Engine Visibility – Optionally, check the box if you don’t want search engines to index your site right away.

Click the Install WordPress button to complete the installation.

Once the setup is complete, you’ll see a success message and a Login button.

Step #8:Log In to Your WordPress Dashboard
Click Login.

Enter the username and password you created during the setup.

Click Log In to access your WordPress admin dashboard.

Now you’re ready to start customizing your website, installing themes, and adding content!

Conclusion:
By manually installing WordPress, you’ve taken full control of your website’s foundation. Now you can confidently begin customizing, managing, and growing your site.