In this article we are going to cover How to Create MariaDB RDS in AWS and Connect MariaDB RDS Using EC2 Instance.
In this guide, you’ll discover how to set up a MariaDB RDS database and connect it with EC2 Instances. The best part is, all the steps we’ll cover can be done without incurring any extra costs because they’re eligible for the Free Tier.
Table of Contents
What you will learn
- Create a MariaDB Instance
- Connect with EC2 Instance
Prerequisites
Before starting this tutorial, you will need:
- You’ll need an Amazon Web Services (AWS) account. If you don’t have one, you can sign up for a free AWS account.
- Basic familiarity with AWS services.
Create MariaDB RDS in AWS
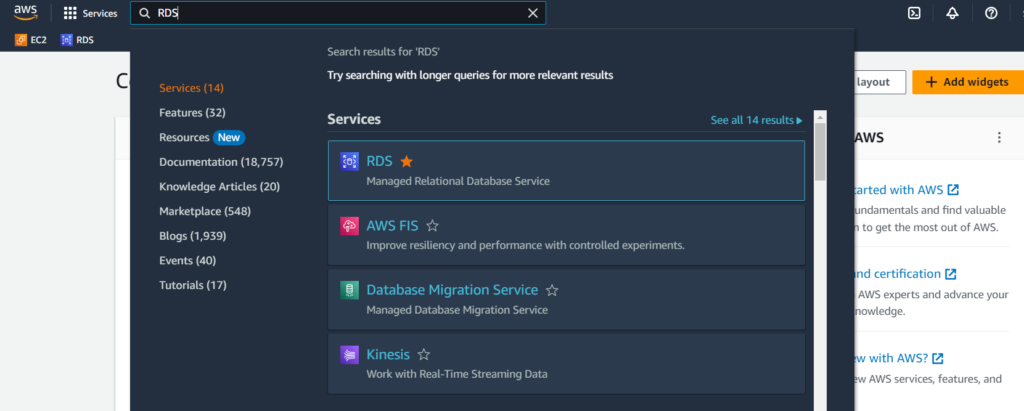
- Step 1: Sign in to the AWS Console:- Open a new web browser window, and go to the AWS Management Console. In the console, type RDS in the search bar and choose RDS under Services to access the Amazon RDS console. This way, you can keep this guide open while working in the AWS console.
- Step 2: Create MariaDB RDS in AWS:- In this step, we’ll use Amazon RDS to make a MariaDB instance. We’ll pick a small-sized instance called db.t2.micro, give it 20 GB of storage. Just remember, all of this won’t cost you anything extra since it’s eligible for the Free Tier. Follow below step’s
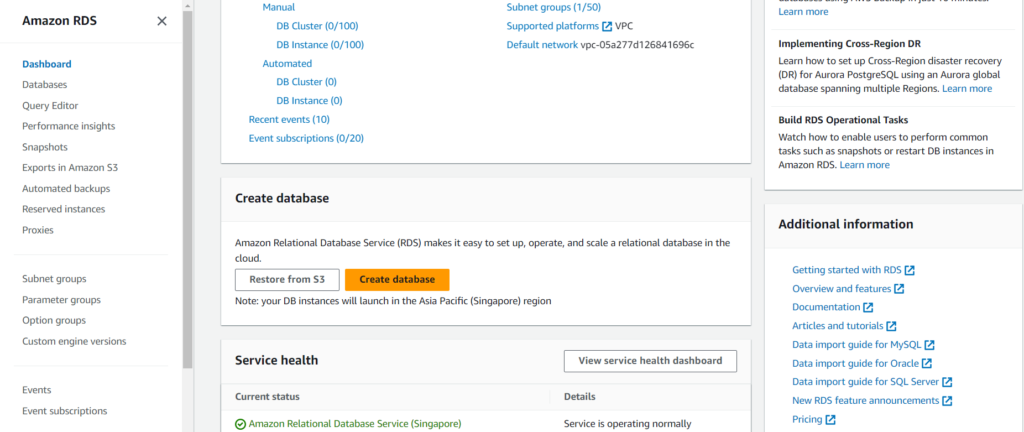
- At the top-right corner of the Amazon RDS console, choose the Region where you want to create your DB instance. Currently I’m using Region Singapore. Note: AWS Cloud resources are housed in highly available data center facilities in different areas of the world. You have the ability to choose which Region to host your Amazon RDS activity in.
- In the Create database section, choose Create database.
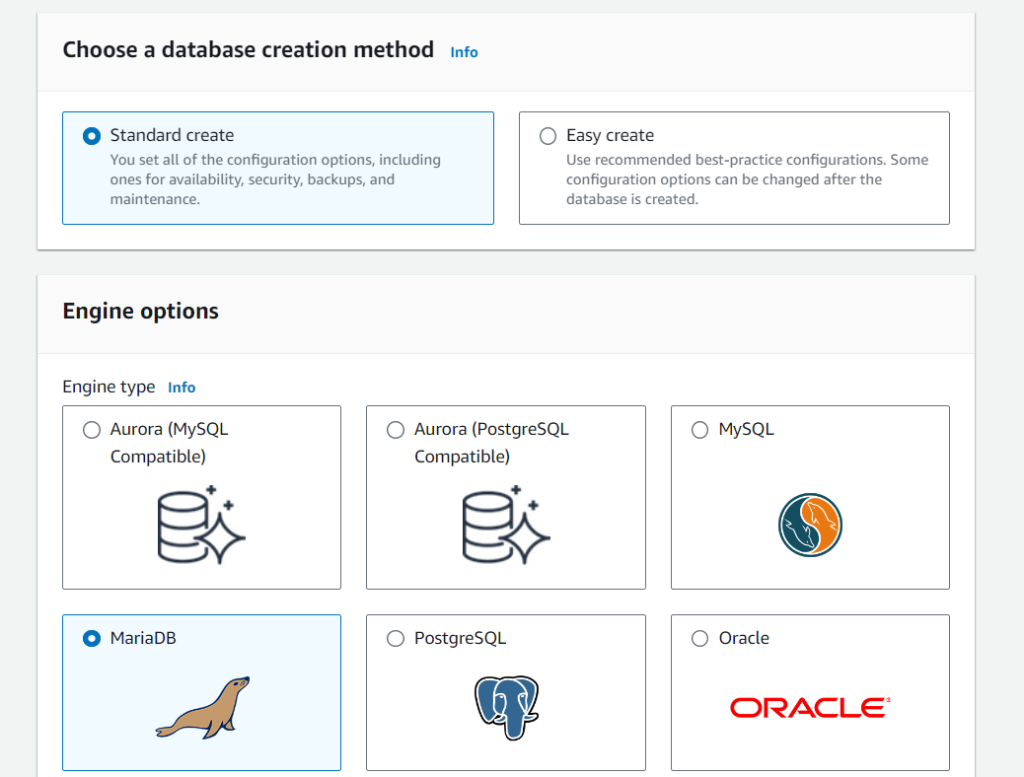
- Creation Method:
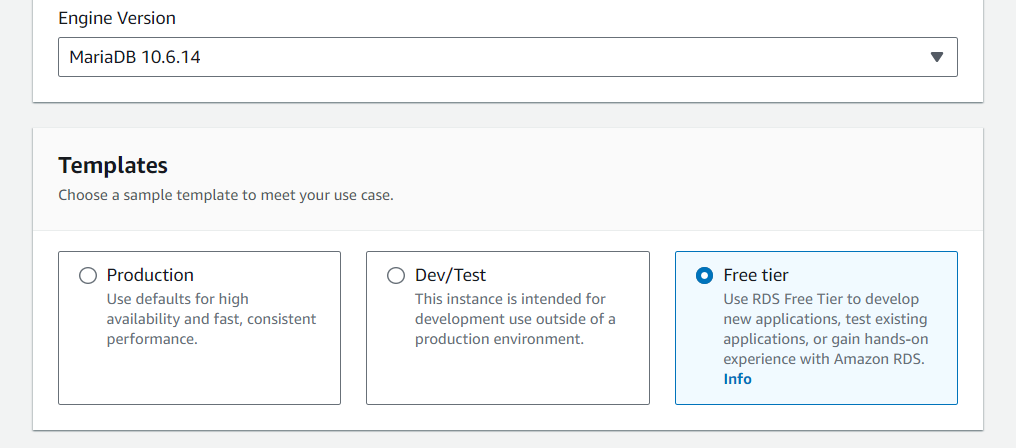
- You now have to select the database engine type, engine version, and the template. For this tutorial, choose the Standard create method and MariaDB as the Engine type. Select the default DB engine version, and Free Tier as the template.
- Settings:
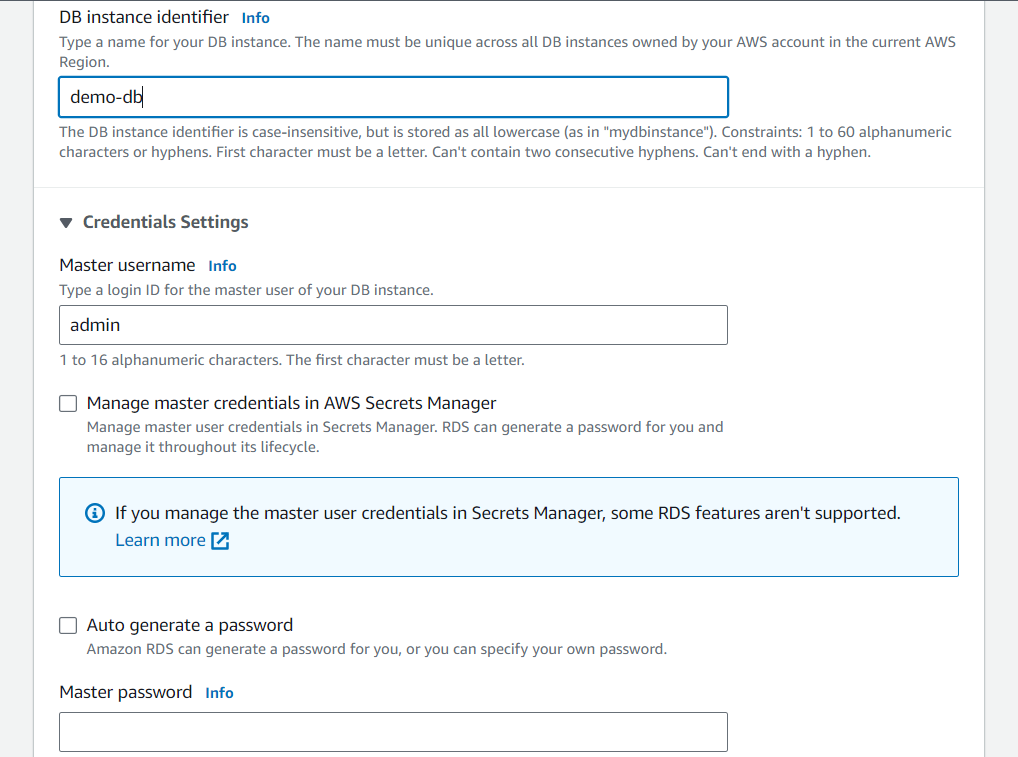
- DB Instance Identifier: This is like giving your database a special name. For this tutorial, use “demo-db.” It should be unique in your chosen location.
- Master Username: Think of it as your username to access the database. We’ll use “admin” in this example.
- Master Password: It’s your secret code to get into the database. Make sure it’s between 8 to 41 characters long and doesn’t contain / (slash), ‘ (single quote), ” (double quote), or @ (at sign).
- Confirm Password: Just type your password again to make sure you didn’t make any mistakes.
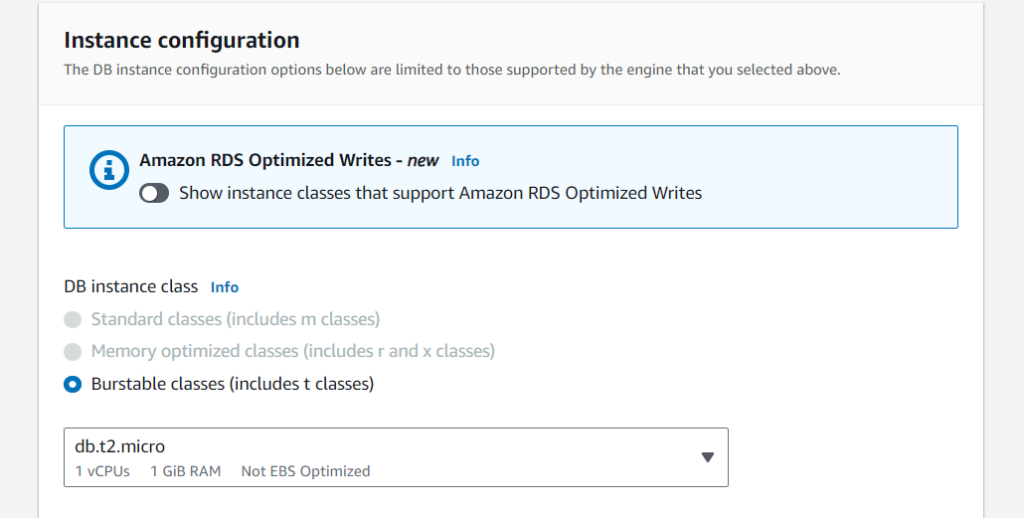
- Instance Configuration:
- DB Instance Class: Think of this as picking the size of your database computer. For this tutorial, just go with the choice called “db.t2.micro,” which has 1 virtual CPUs and 1 GB of RAM. It’s good for the Free Tier. To see a list of supported instance classes, see Amazon RDS Instance Types.
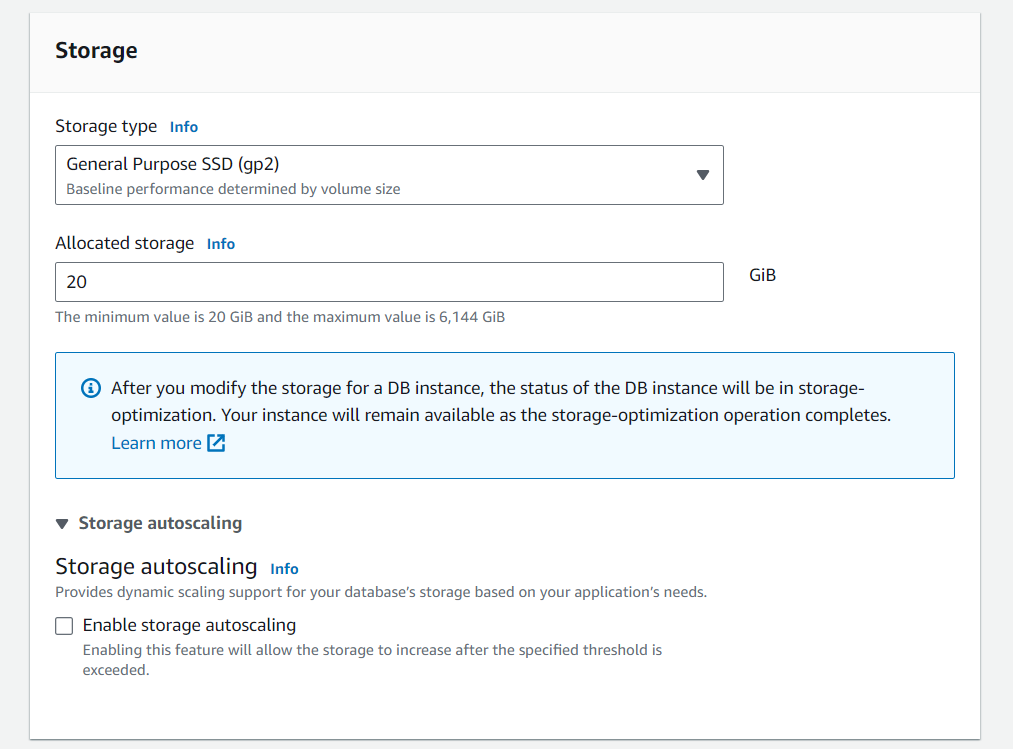
- Storage:
- Storage Type: Consider this as the kind of storage your database will use. Choose “General Purpose SSD (gp2)” – it’s like using a reliable and fast drive for your data.
- Allocated Storage: This is like deciding how much space you want for your database. Set it to 20 gigabytes (20 GB) for this tutorial. But know that you can make it much larger, up to 64 terabytes (64 TB) if needed.
- Enable Storage Autoscaling: If your database’s space needs can change a lot and you’re not sure how much you’ll need, you can turn on this option. It makes Amazon RDS automatically increase your storage when it’s necessary. However, for this tutorial, you don’t need to worry about this option.
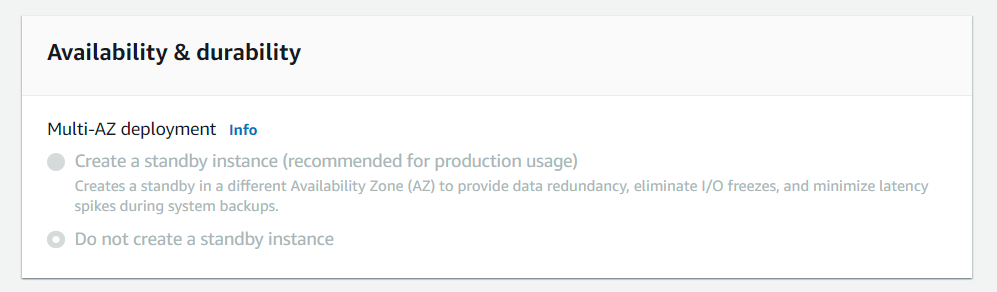
- Availability or Durability: (Multi-AZ Deployment) For this tutorial, you don’t need to think about this option. It’s a feature that provides high availability by creating a backup copy of your database in a different location. But it’s not necessary here, and it comes with an extra cost. So, just skip it for now.
- Connectivity:
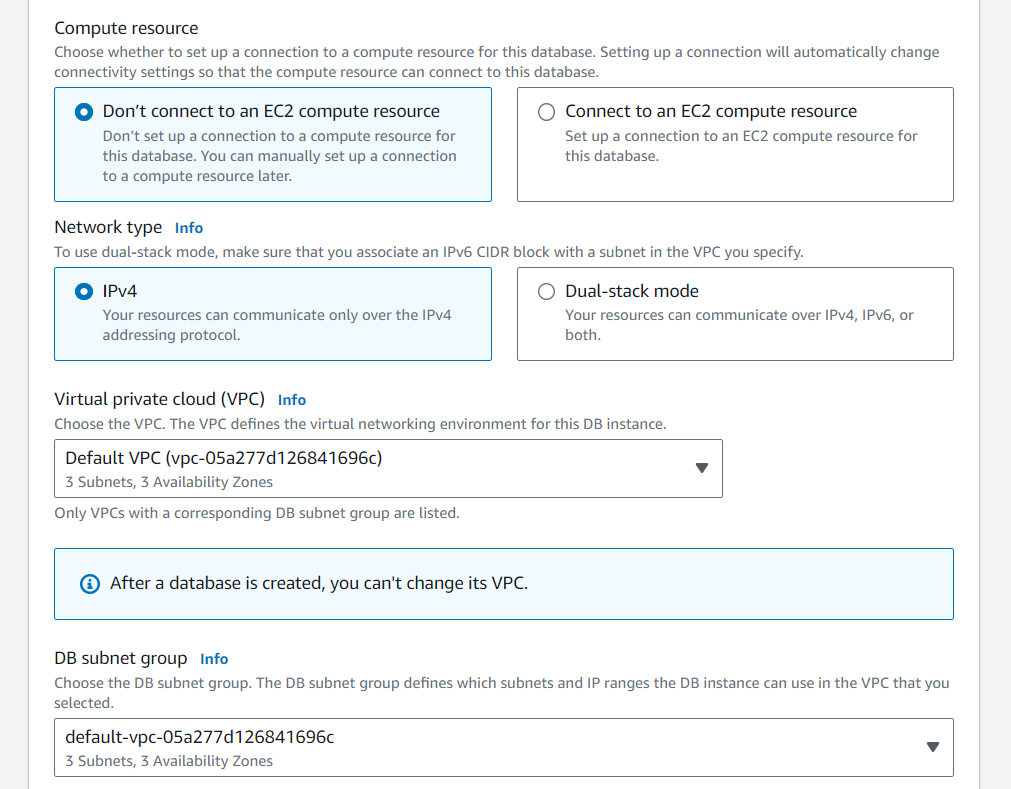
- Compute Resource: Ignore this option for the tutorial. It’s for connecting your database to another service (such as Bastion Host or Application Server) you might have. Not needed here. See Configure automatic network connectivity with an EC2 instance for more details.
- Network Type: Stick with the default choice, which is IPv4. It’s the standard way computers talk to each other over the internet. Amazon RDS supports both IPv4 & IPv6.
- Virtual Private Cloud (VPC): Choose “Default VPC.” This helps organize your resources in a secure and controlled network environment.
- DB Subnet Group: Go with the default subnet group. It helps manage where your data is stored securely.
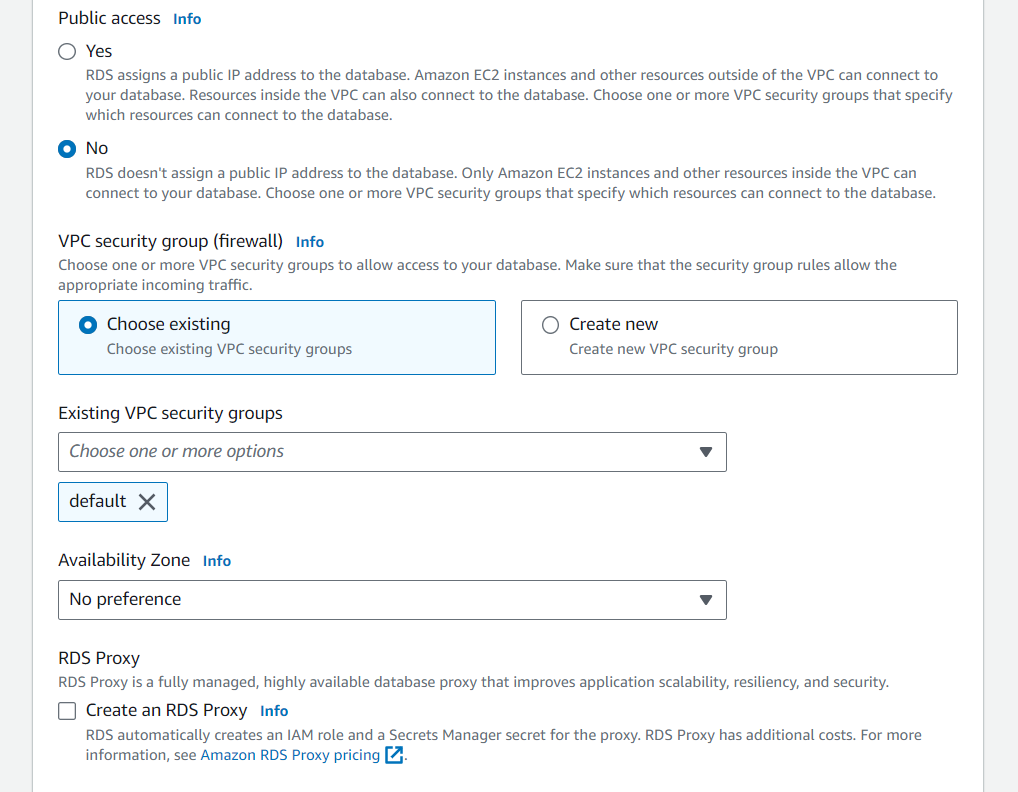
- Public Access: Choose “No.” This means if anyone have URL of your database they can access it easily.
- VPC Security Group (Firewall): It’s like setting up a protective barrier around your database, and it will allow connections from your current device. (Remember one thing here add SSH Rule and Allow Port 3306 in VPC Security Group)
- Availability Zone: Select “No preference.” See Regions, Availability Zones, and Local Zones for more details.
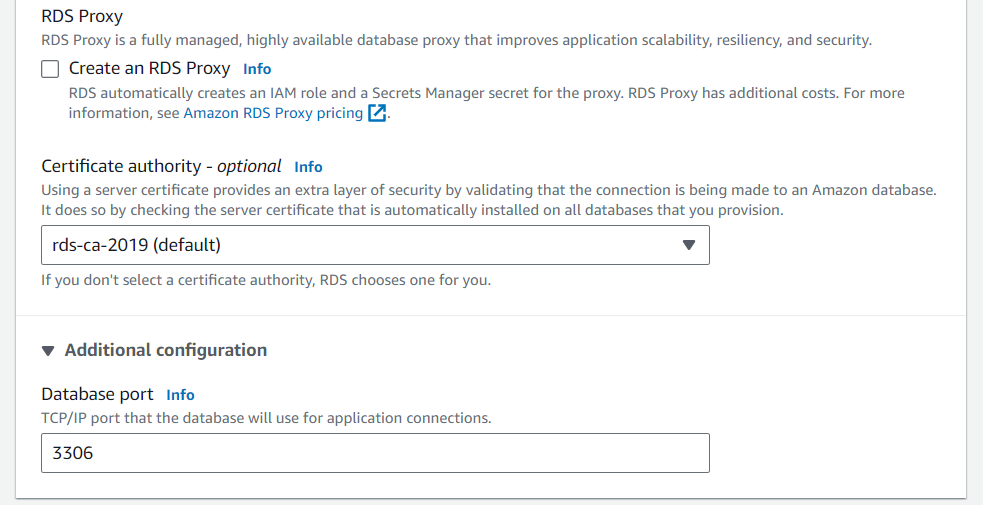
- Database Port: Keep it at the default value, which is 3306. It’s the channel through which your database communicates with other services.
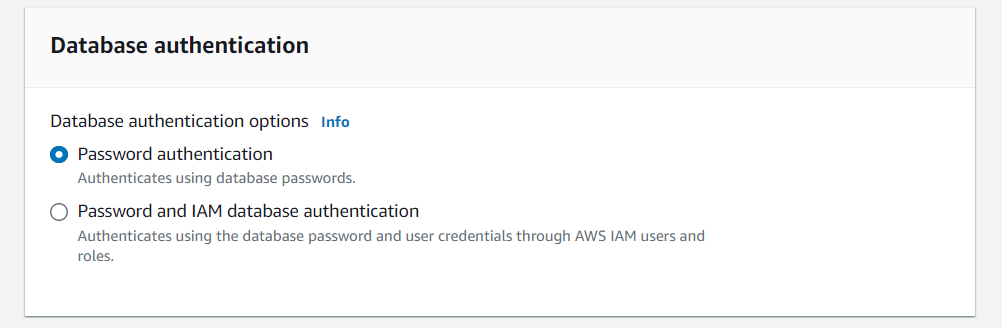
- Database authentication:
- Database authentication options: MariaDB offers Password authentication and Password and IAM database authentication. Keep the default Password authentication selected. See IAM database authentication for more details.
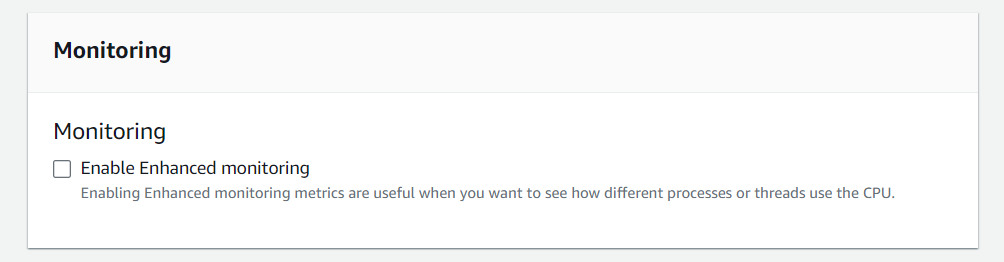
- Monitoring:
- Keep the default Enable Enhanced monitoring unchecked for this tutorial. See Overview of Enhanced Monitoring for more details about monitoring.
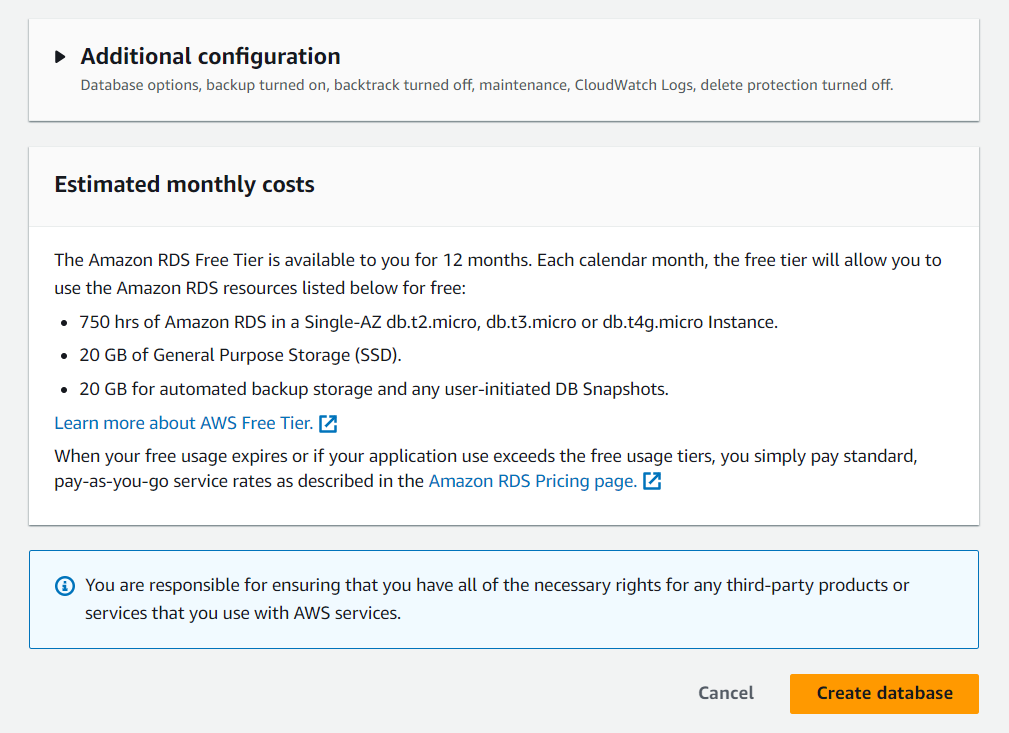
- Additional configuration:
- Leave this section default as it is.
- And in the end, Choose Create database.
- After Creating a MariaDB Instance, Create a Ubuntu EC2 Machine with simple configuration and launch it.
Connect MariaDB RDS Using EC2 Instance
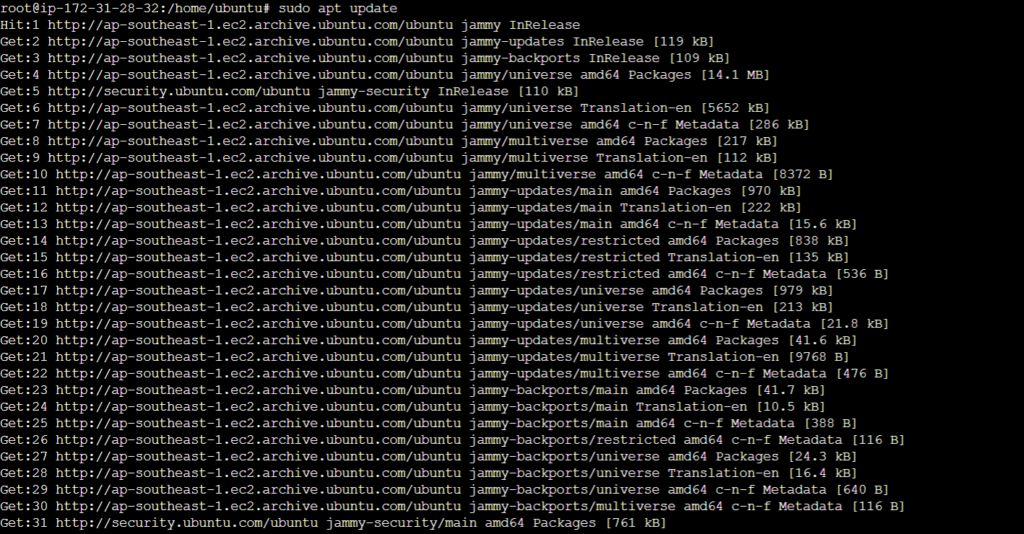
- After launching the EC2 Instance, run below command
sudo apt update
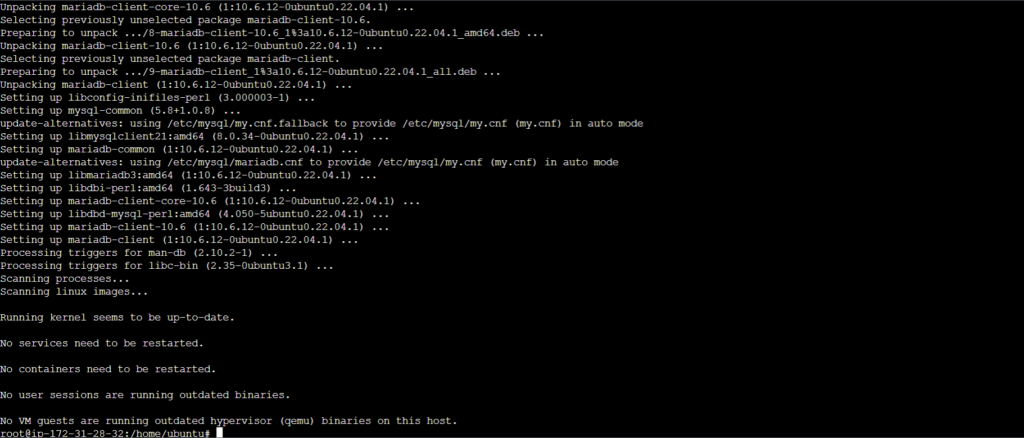
- Now we run below command to install MariaDB Client in our EC2 Instance (such as Bastion Host or Application Server)
sudo apt-get install mariadb-client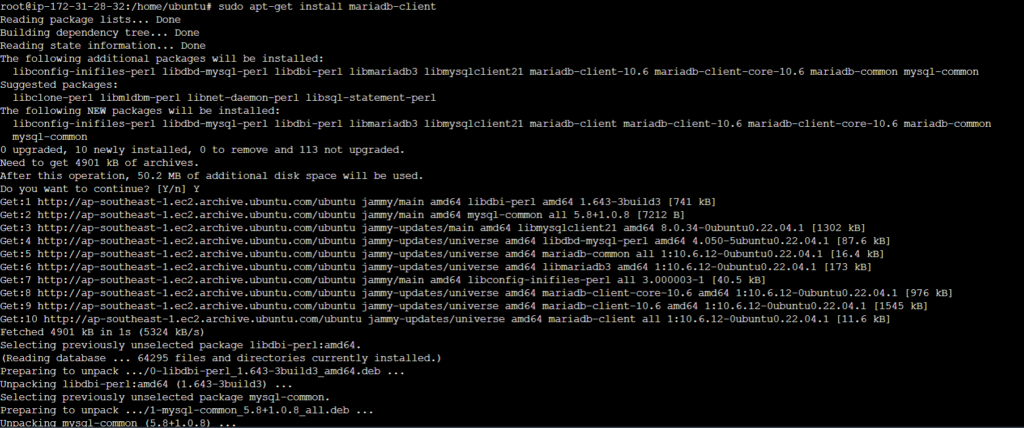
- Now connect to a MariaDB Instance, Here we using below command to connect. Also we substitute the DNS name (Endpoint, use your endpoint of DB) for your DB Instance for <endpoint> and the master user name (mine is admin) that you used for <mymasteruser>. Provide the master password that you add when we creating a database.
mysql -h <endpoint> -P 3306 -u <mymasteruser> -p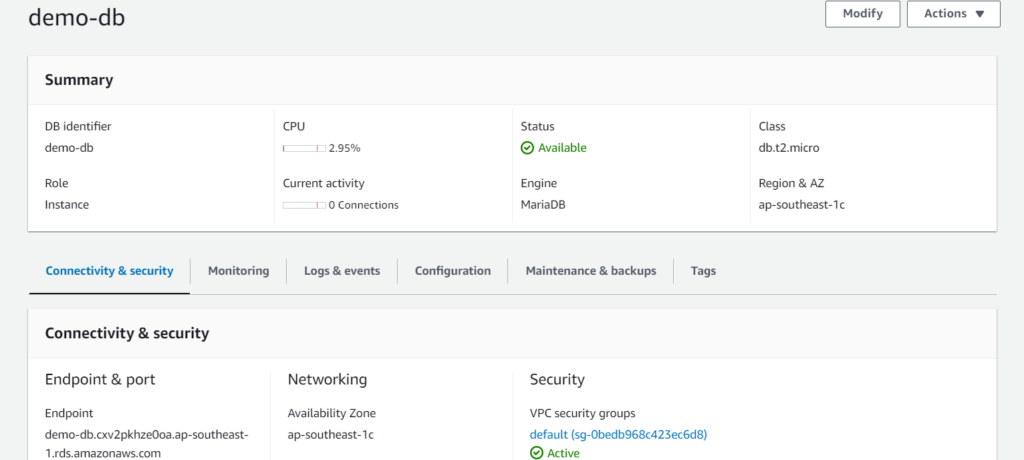
- After run the command we can see this as result
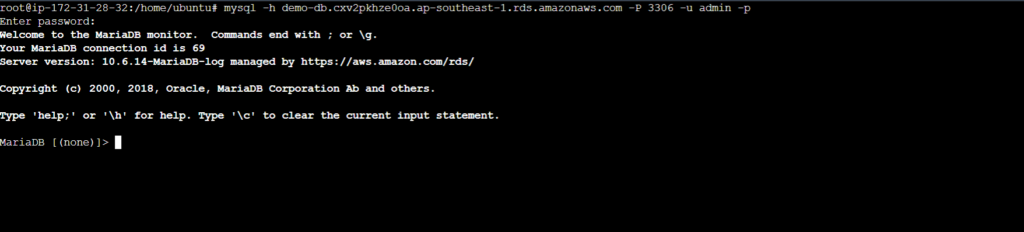
- So, we successfully connect with our MariaDB Instance.
Conclusion:
You have created, connected to a MariaDB Instance with Amazon RDS. Amazon RDS makes it easy to set up, operate, and scale a relational database in the cloud. It provides cost-efficient and resizable capacity while managing time-consuming database administration tasks, freeing you up to focus on your applications and business, How to Create MariaDB RDS in AWS and Connect MariaDB RDS Using EC2 Instance.
Related Articles: